- Getting Started
- Administration Guide
-
User Guide
- An Introduction to Wyn Enterprise
- Document Portal for End Users
- Data Governance and Modeling
- Working with Resources
- Working with Reports
- Working with Dashboards
- View and Manage Documents
- Understanding Wyn Analytical Expressions
- Section 508 Compliance
- Subscribe to RSS Feed for Wyn Builds Site
- Developer Guide
Overflow Placeholder
The Overflow Placeholder control is available only in the Page report. It is a rectangular placeholder for data that does not fit inside the fixed size of a List, Banded List, Tablix, or Table data region. The fixed-size page layout does not allow to change sizes based on the data in the fixed page layout. In this case, you can link a data region to an Overflow Placeholder; the control gets its Size property values from the FixedSize of the data region it is linked with. So, data that overflows the fixed size of your tables or other data regions can span pages, but you control the layout of each page and specify where the overflow data goes with a placeholder.
Using Overflow Placeholder Control in a Report Designer
This section describes how to use an Overflow Placeholder control in a report.
You can bind the overflow data from a data region to an Overflow Placeholder control.
You can place multiple Overflow Placeholder controls in a report to create different looks for your report output. If you are using multiple Overflow Placeholder controls, then you should link a data region to an Overflow Placeholder control and then link that Overflow Placeholder control to another Overflow Placeholder control. Two common layouts that you can create are:
- Columnar Report Layout: Place the data region and the Overflow Placeholder on the same page of the report to create a layout that displays data in a columnar format.
- Multiple Page Layout: Place the data region on the first page of the report and Overflow Placeholder controls on subsequent pages to create a layout with overflow data on multiple pages.
Properties Tab
You can set the Overflow Placeholder control appearance by setting properties in the Properties tab.
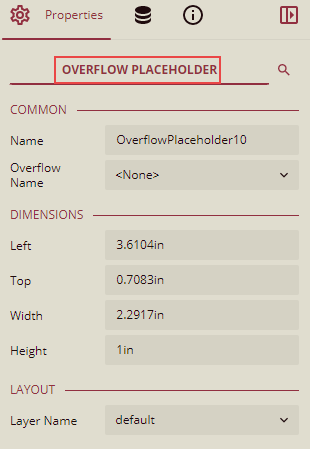
Listed below are the common properties.
| Property Section | Property Description |
|---|---|
| Common |
|
| Dimensions | This sets the location and size of the Overflow Placeholder.
|
| Layout | This sets the Overflow Placeholder layout in a report as a whole.
|
Example for Columnar Report Layout
In the below example, we will take a blank page report, add a table control to it and bind it to a dataset. Then we will add an Overflow Placeholder control (Say Control 1) and link the table to this Overflow Placeholder control ( control 1). Then we will add another Overflow Placeholder control (Say Control 2) and link the Overflow Placeholder control (control 1) to another Overflow Placeholder (control 2) and so on. Below are the steps to create a columnar report.
In the Document Portal, select Create > Create Report to create a new report.
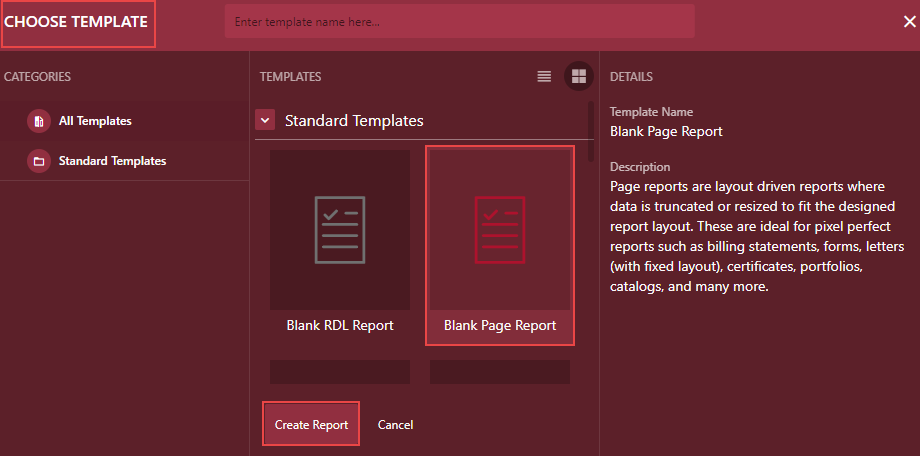
In the Choose Template dialog box that appears, select the Blank Page Report, and click Create Report button.
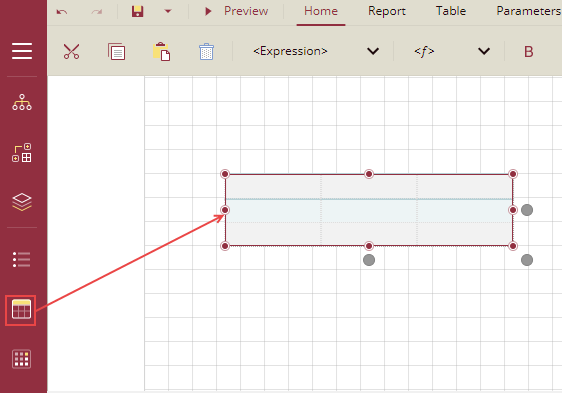
From the Report Toolbox on the left, either drag and drop the Table control onto the design area or left click the control.
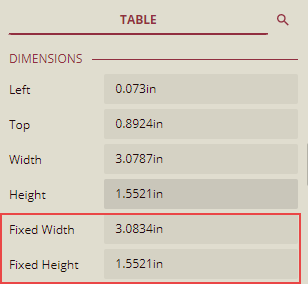
Set the Fixed Width and Fixed Height Size = 3.0834in, 1.5521in.
Bind the table to a dataset. In this example, we have taken the TechnologyDataset.
Now add an Overflow Placeholder control (Let us say, OverFlowPlaceHolder1).
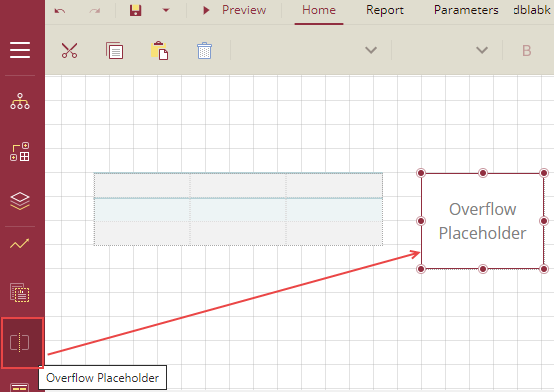
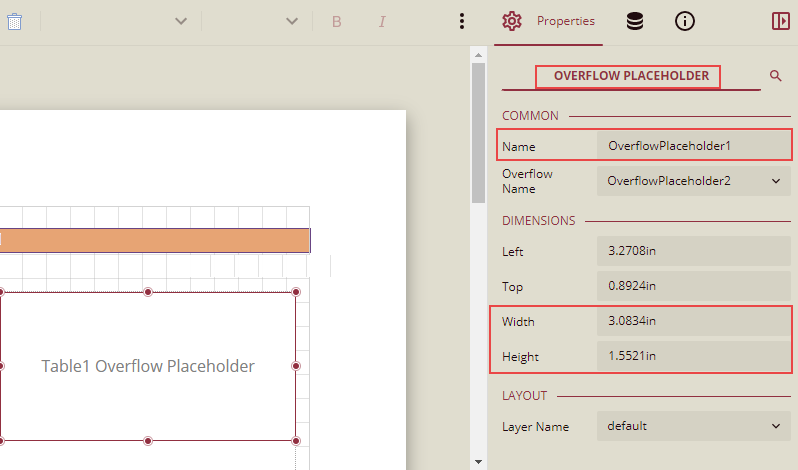
Drag the OverflowPlaceHolder1 control on the right side of the table and from the Properties window, set the Size = 3.0834in, 1.5521in (same as FixedSize of the table).
Link the Table data region to the Overflow Placeholder control (OverFlowPlaceHolder1)
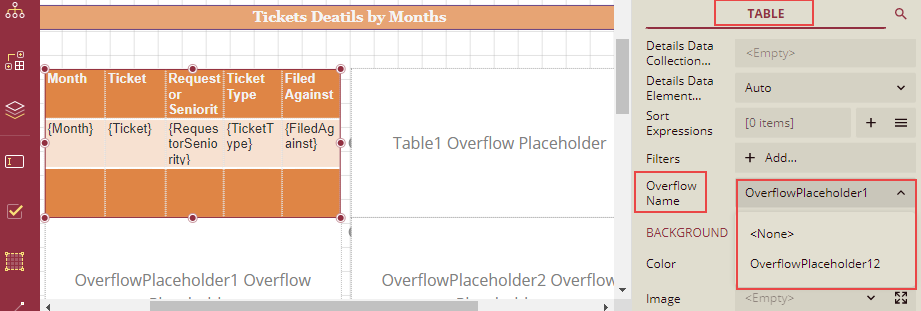
- Select the Table data region and from the Properties window, set the following properties:
- RepeatHeaderOnNewPage = True (This is the table header to repeat on each page as well as inside the Overflow Placeholder)
- OverflowName = OverFlowPlaceHolder1
- Select the Table data region and from the Properties window, set the following properties:
Now add other Overflow Placeholder controls, say: Overflow Placeholder2, Overflow Placeholder3.
Link Overflow Placeholders (1, 2, and 3) with each other.
- Select the Overflow Placeholder1 and set the OverflowName = OverFlowPlaceHolder2

Now align the OverflowPlaceHolder2 control and in the Properties window, set its properties as follows.
- Size = 3.0834in, 1.5521in (same as FixedSize of the table).
- OverflowName = OverFlowPlaceHolder3
Now align the OverflowPlaceHolder3 control and in the Properties window, set its properties as follows.
- Size = 3.0834in, 1.5521in (same as FixedSize of the table).
- OverflowName = OverFlowPlaceHolder4
Add a TextBox control on the top to give the heading of the report and format it.
The report in the design view will look similar to the one as shown below.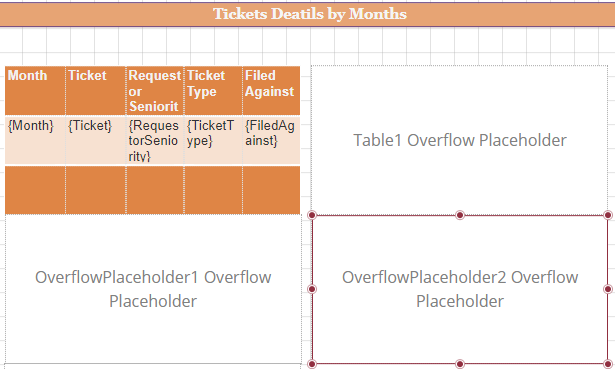
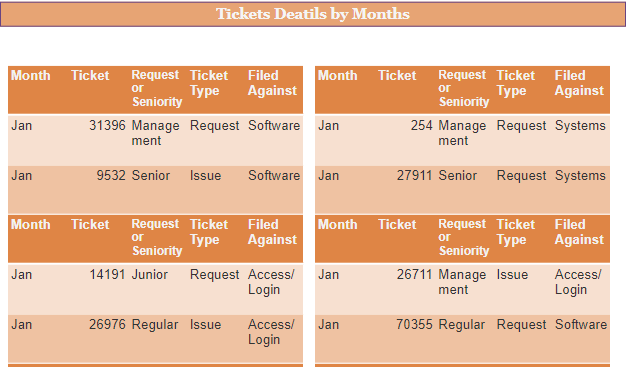
Click the Preview button to preview the report. The report will look similar to the one as shown below.
You can add more Overflow Placeholder controls and create different layouts.