- Getting Started
- Administration Guide
-
User Guide
- An Introduction to Wyn Enterprise
- Document Portal for End Users
- Data Governance and Modeling
- Working with Resources
- Working with Reports
- Working with Dashboards
- View and Manage Documents
- Understanding Wyn Analytical Expressions
- Section 508 Compliance
- Subscribe to RSS Feed for Wyn Builds Site
- Developer Guide
Image
The Image control displays the picture that you want to add in the report. You can use images in various scenarios in the report, like displaying logo images in the report or displaying any product picture in a product list report.
You can use the Image control directly in a report or within a table cell. You can use the images as shared pictures that exist on the portal, as external images that are from any external image resources, and as database images where images are in the database.
The supported image formats are BMP, JPEG, GIF, PNG, EMF, WMF, and SVG.

Using Image Control in a Report Designer
This section describes how to use an Image control in a report.
Follow the below steps to add an Image control.
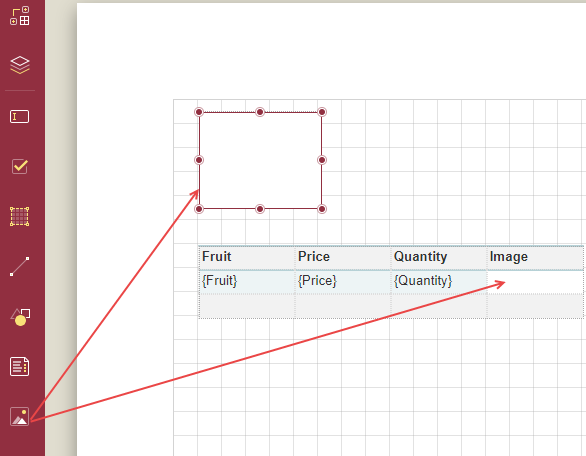
From the Report Toolbox on the left, drag and drop the Image control onto the design area. You can also add it to a table cell.
Now you need to set the source of the image. For this, go to the Properties tab and under the Appearance section click the dropdown list Image.
You will see the following three options: Shared, Embedded, and Database.
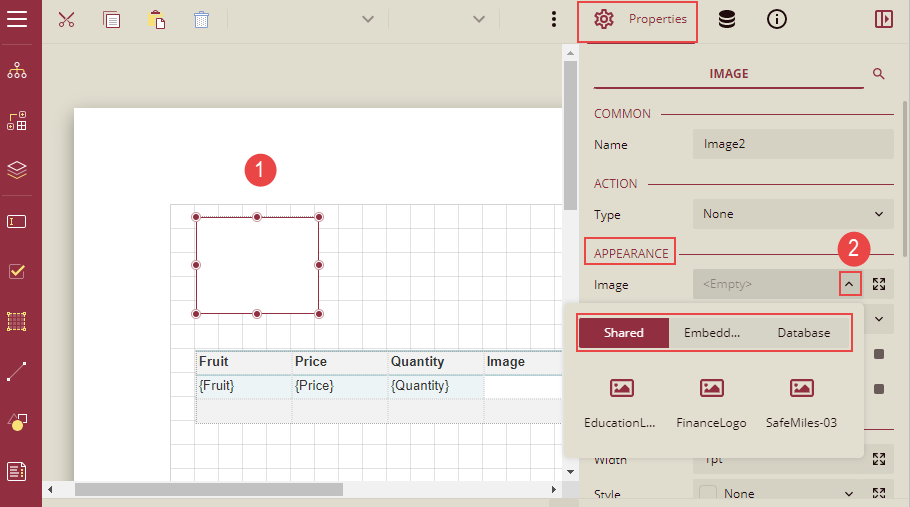
Shared: The image source Shared refers to the images stored in the Wyn application in the Admin portal.
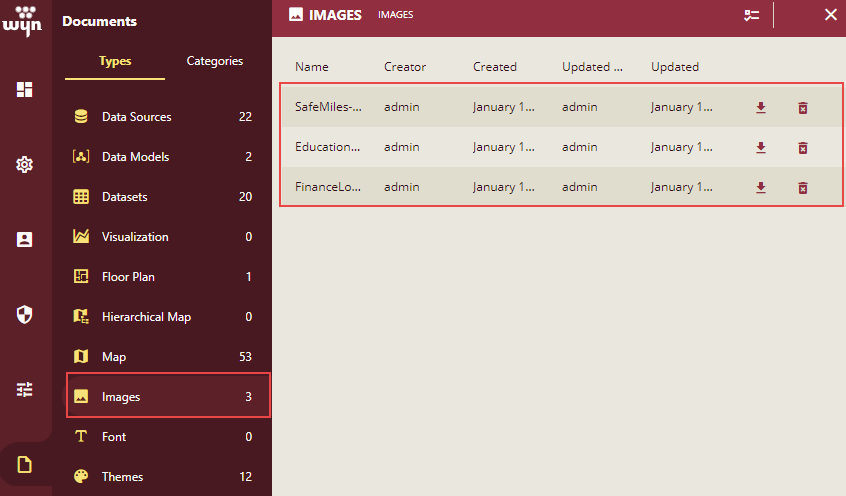
These images are listed under the Shared option.
Steps to add the Shared images:
You can select the Shared option and select the desired image from the list.
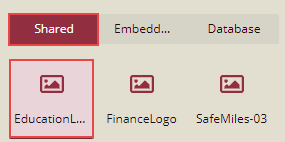
The selected image will be displayed in the Image control.

Embedded: The image source Embedded refers to the images stored locally on the system that can be embedded into the report designer. These are uploaded image files, which are only used by the current report.
Steps to add the Embedded image:
Select the Embedded option and click the Load icon as shown below in the image.
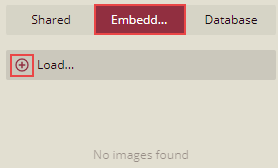
A new window is opened. Navigate to the desired path where the image to be uploaded is stored and select the image.
The selected image will be displayed under the Embedded option.
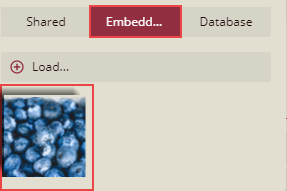
Select the image from the list and the selected image will be displayed in the Image control on the report.

The embedded images that are uploaded in the report are available under the report Layout section on the Properties tab.
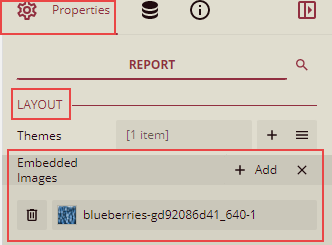
Database: The image source Database refers to the images stored in the database which can be used in the reports. If you want to use an Image field in the database, you must bind the image field.
You can also use the URL address of any image as the image source of the image control by:
(a) setting Source to External, (b) Setting Value to the URL of an image, as shown below:
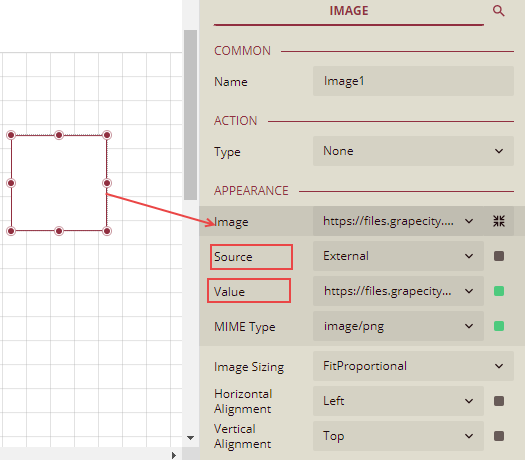
Properties Tab
You can customize the default Image control appearance by setting properties in the Properties tab of the image control. Properties like adding a border, layout, visibility, etc. can be customized.
Listed below are the common properties.
Property Section | Property Description |
|---|---|
Common | Name: Sets the name of the selected image control. |
Action |
|
Appearance: | This sets the appearance of the image.
|
Border | This option sets the border of the image.
|
Dimensions | This sets the location and size of the image.
|
Layout | This sets the image layout in a report as a whole.
|
Visibility | This sets the visibility of the image on the report preview.
|
Misc Options |
|
Example with Database Image: In the below example, we will display the list of the products with images in a table. Follow the below steps to add the Database images:
Drag and drop the table control on the report designer.
Bind the table with the database having images and drag the desired fields from the dataset into the details filed on the table.
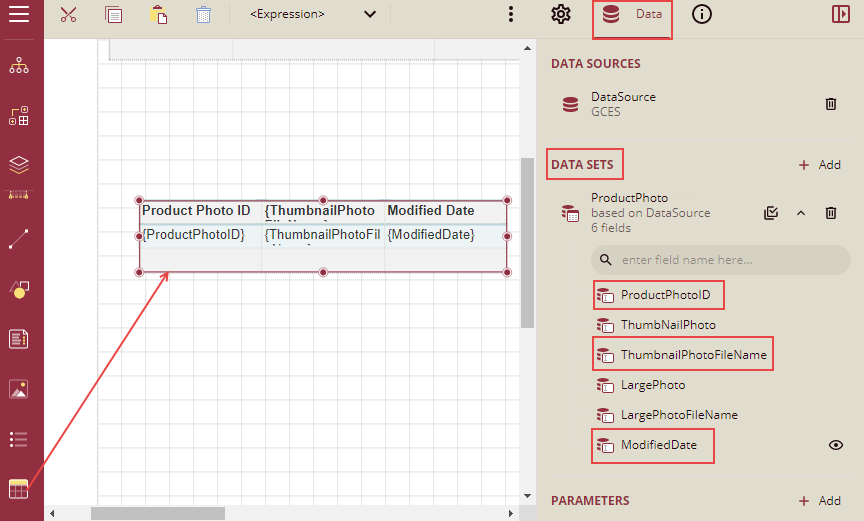
Now add another column next to the field ModifiedDate and add an Image control into the details field.
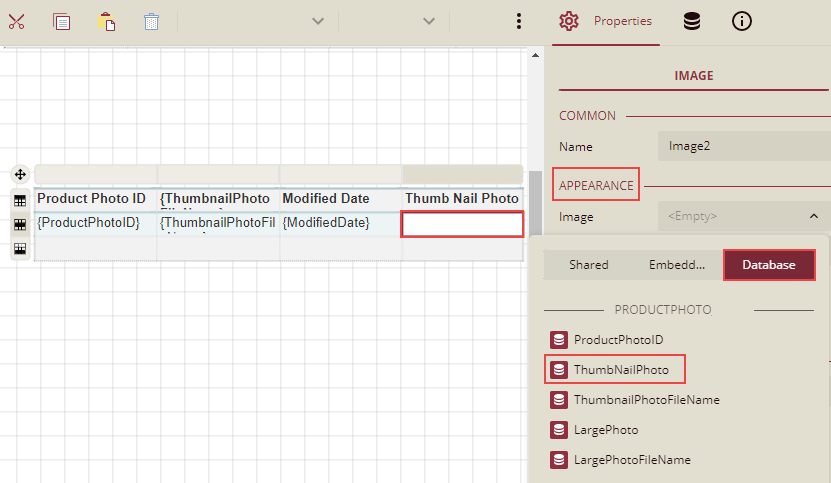
Select the Image control and click the Properties tab.
Now you need to set the source of the image. Under the Appearance section click the dropdown list Image and select the Database option and select the image field from the list. Here we have selected the ThumbNailPhoto from the list as shown below in the image.
Now click the Expand icon
 next to the Image dropdown list.
The Source and Value fields are populated.
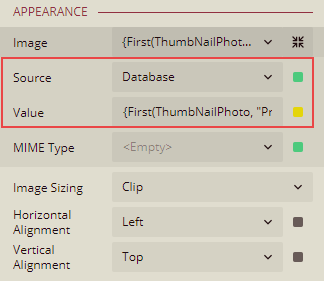
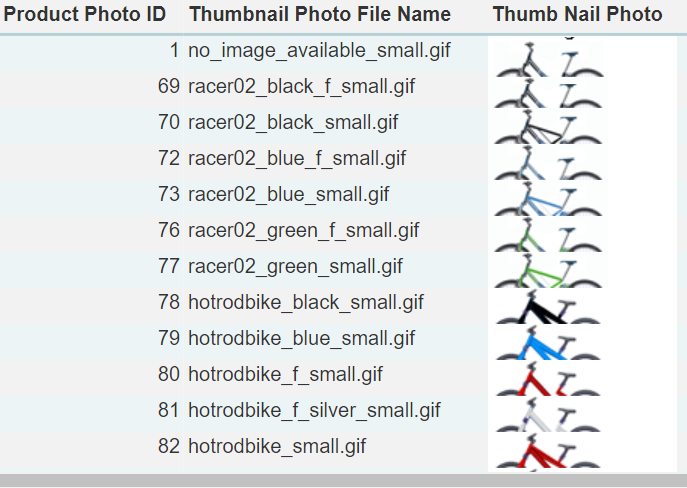
Set the display properties of the image and click Preview. The report will display the images in the Thumb Nail Photo column as shown below:
