- Getting Started
- Administration Guide
- User Guide
- Developer Guide
Report Render Mode
You can customize the report layout, and control the data returned based on different render modes as per your requirement by using the UserContext.GetRenderMode function from the expression editor under Miscellaneous. UserContext.GetRenderMode function returns the render mode for previewing, printing, or exporting.
The examples below will show how to:
Control Report Preview Limit
Customize the Report Content
Example 1: Control Report Preview Limit
In this example, we have used this function to display:
Only a controllable number of rows while previewing the report.
When exporting or printing the report, you can print or export it in full.
Follow the steps mentioned below to set the report preview limit:
On the report designer, drag and drop the table control and bind it to a dataset. Here in this example, we have used a server dataset Northwind.
Write the following query for the dataset, click Validate, and click OK.
SELECT {IIF(UserContext.GetRenderMode() = "preview", "TOP " & @PreviewLimit & " * ", " * ")} FROM orders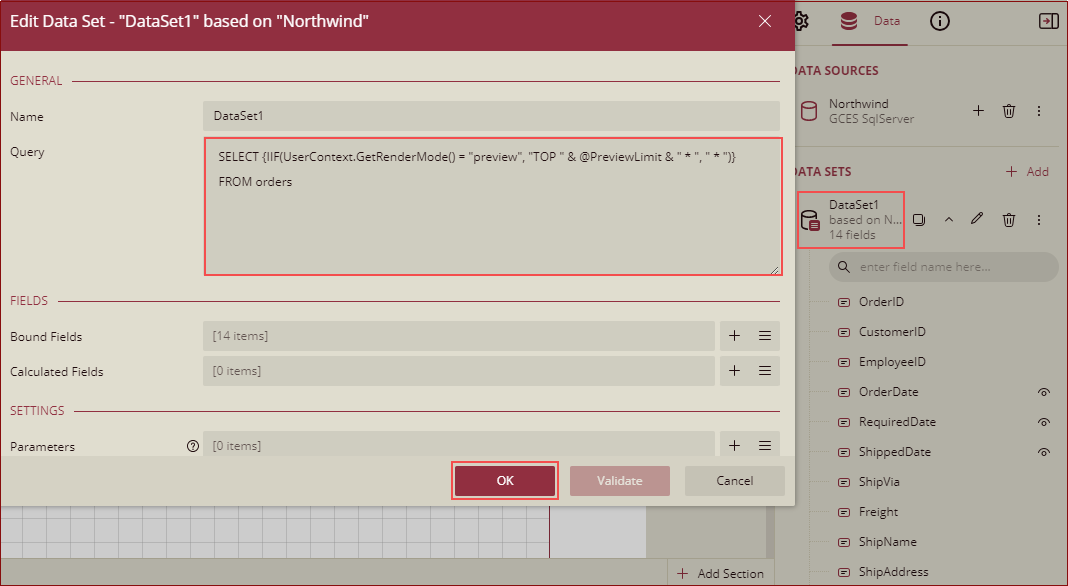
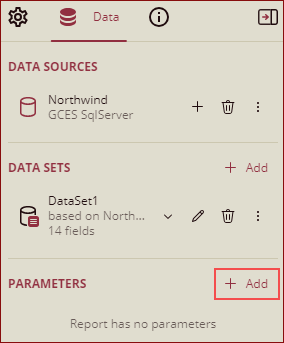
Click the Add button to add a parameter.
On the Edit Parameter section, enter the Name as PreviewLimit. Under the Default Value section, select Source as Non-Queried and set the value to 2.
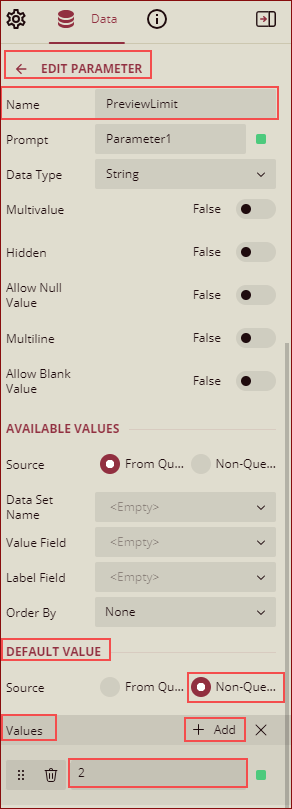
Parameter PreviewLimit is added.
Now preview the report. You can set the preview limit through the PreviewLimit parameter. The default value is set to 2. Also, as in this example, there is no limit for export, so you will be able to view all the data on the exported file.
You can also use nested SQL queries for setting different limits for print, preview, and export as shown below:
SELECT {IIF(UserContext.GetRenderMode() = "preview", "TOP " & @PreviewLimit & "", IIF(UserContext.GetRenderMode() = "export", "TOP " & @export & "", IIF(UserContext.GetRenderMode() = "print", "TOP " & @print & "", "")))} FROM orders )
Example 2: Customize Report Content
In this example, we have used this function to display different images when printing, exporting, and previewing the report.
Follow the steps mentioned below to customize the report:
On the report designer, drag and drop the table control and bind it to a dataset. Here in this example, we have used a server dataset Northwind.
Write the following query for the dataset, click Validate, and click OK.
select * from orders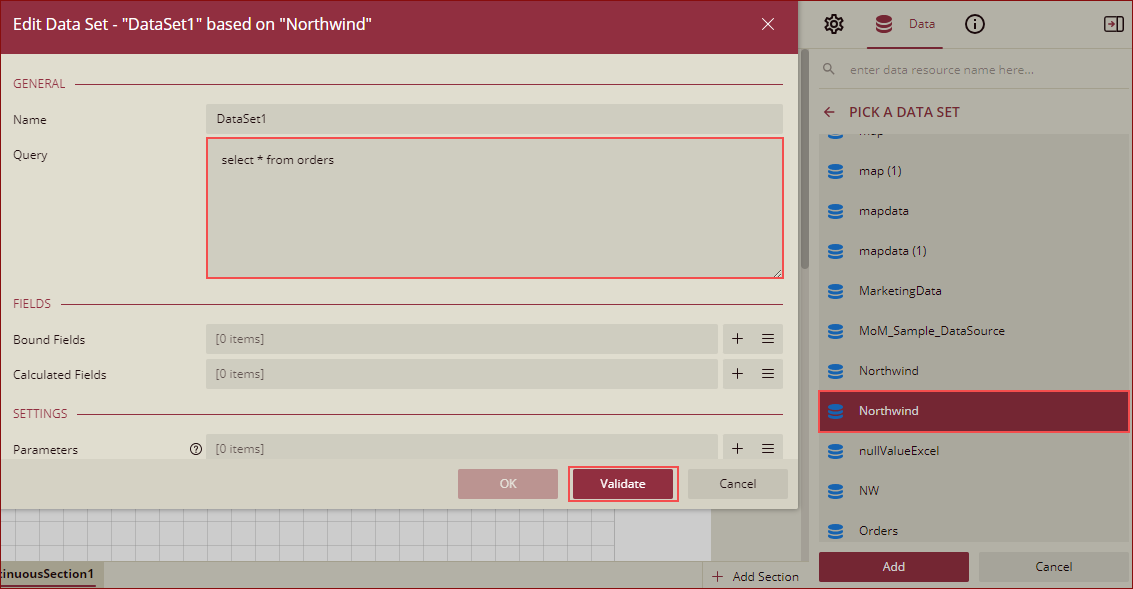
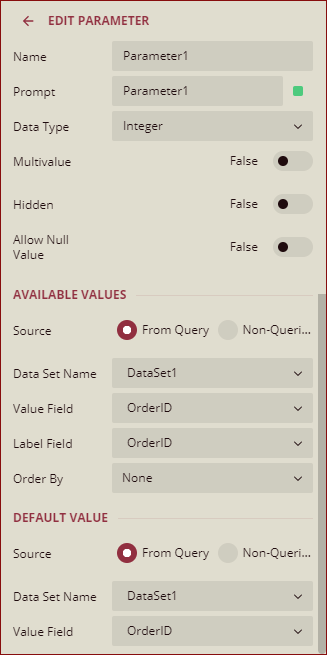
Click the Add button to add a parameter.

We will add two parameters in this example. On the Edit Parameter section, enter the Name as Parameter1. Under the Available Values section, select Source as From Query. Select Data Set Name, Value Field, and Label Field. Under Default Value, select the From Query option and select Data Set Name and Value Field as shown below.
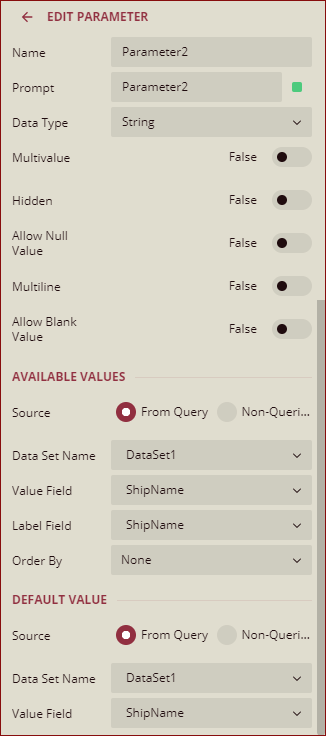
Add Parameter2. On the Edit Parameter section, enter the Name as Parameter2. Under the Available Values section, select Source as From Query. Select Data Set Name, Value Field, and Label Field. Under Default Value, select the From Query option and select Data Set Name and Value Field as shown below.
In the table, for the field OrderId, add the expression as shown below.
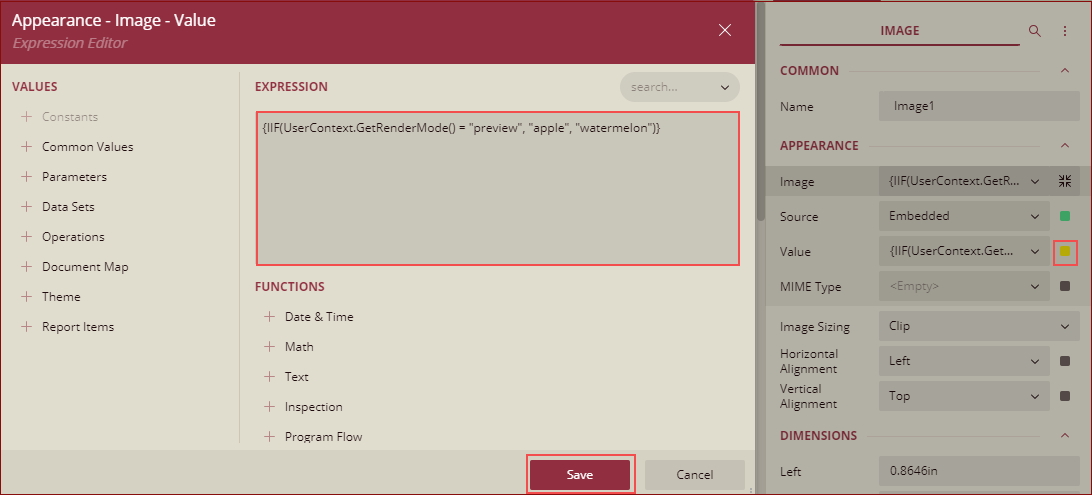
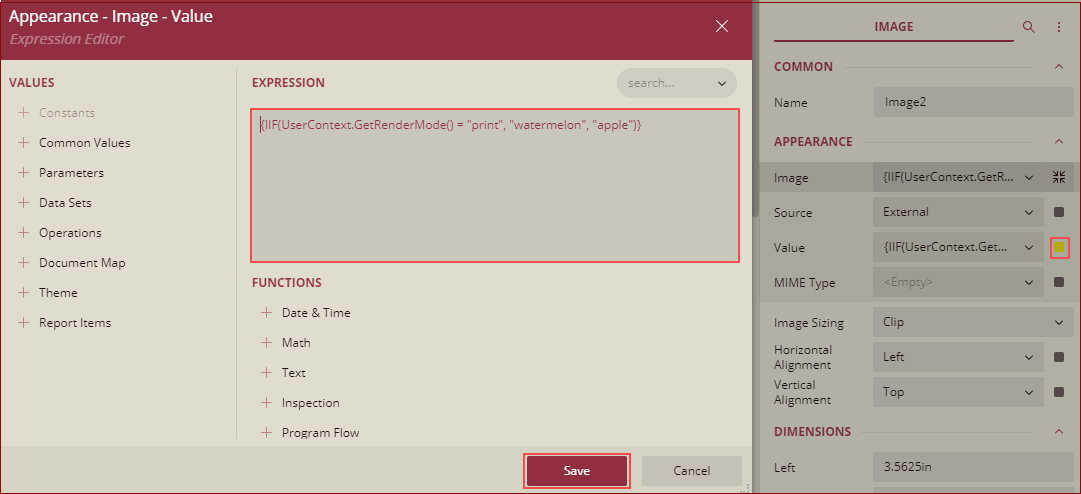
Drag two image controls, upload the images, and add the following expressions to display different images for print, preview, and export.
Expression for image 1
Expression for image 2
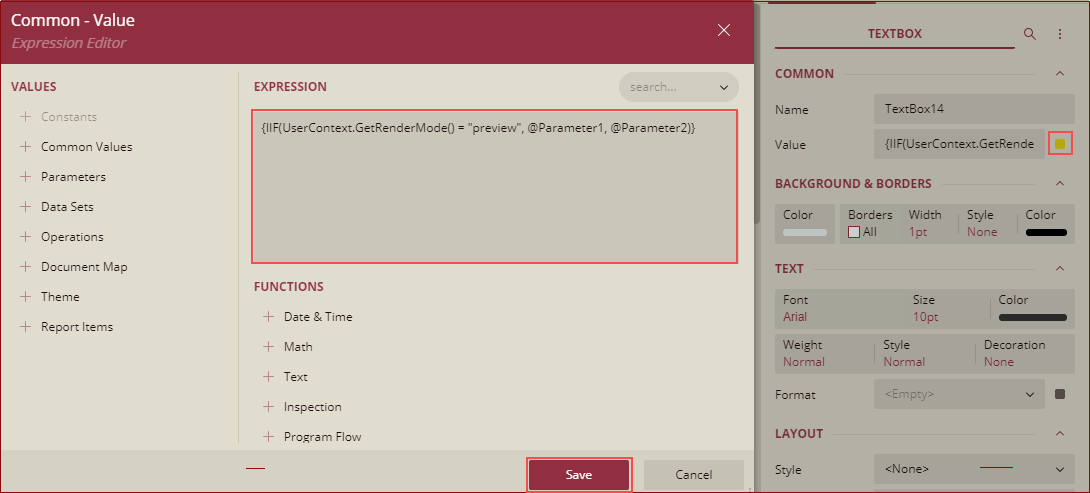
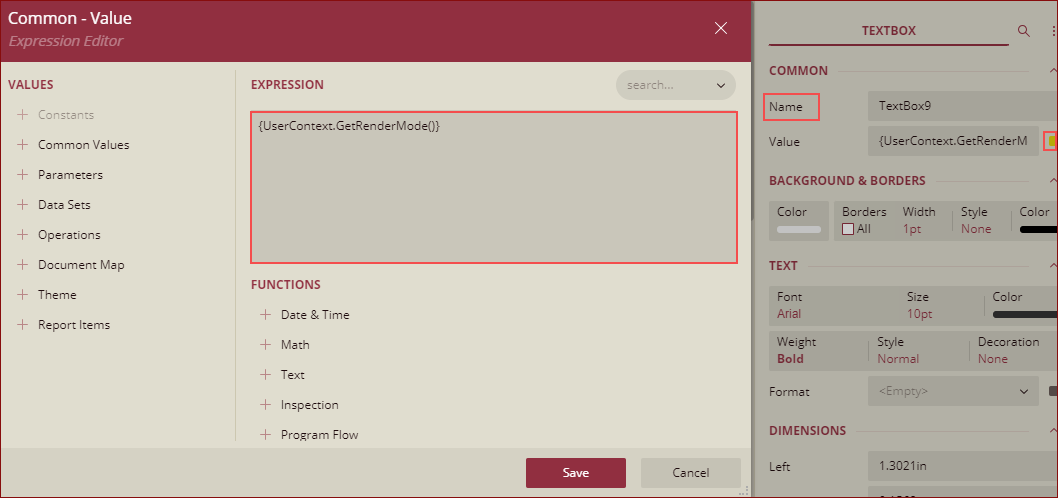
Drag a TextBox and add the following expression.
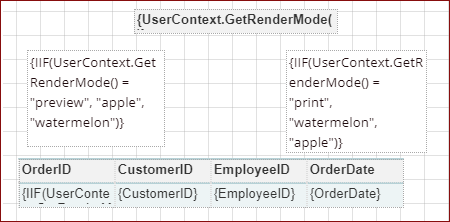
So, the final layout of the report is shown below.
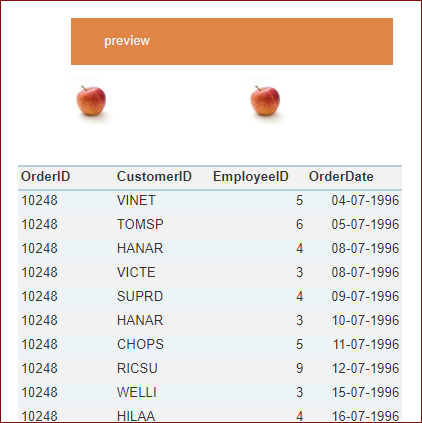
9. Preview the report.
For preview, the report will display the image of 2 Apples.
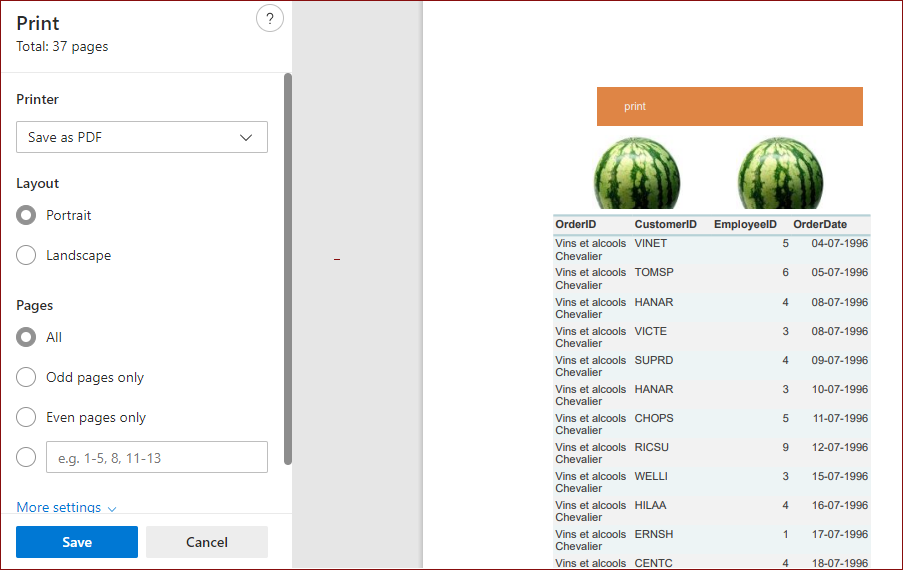
When you Print the report, it will display the image of 2 Watermelons.
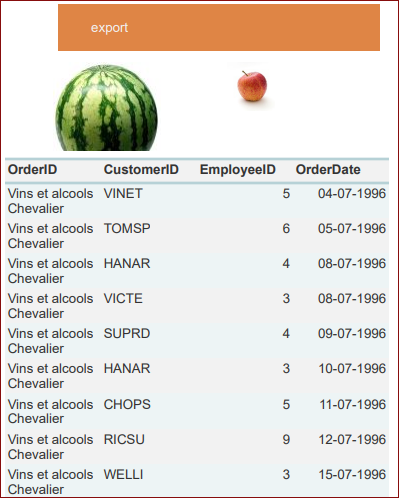
When you export the report, it will display one apple, and one watermelon as we have not set any expression for export.
So, you can customize different content, and styles for previewing, exporting, and printing according to your requirements using the UserContext.GetRenderMode function.
Note: You can use the function {UserContext.GetRenderMode()} with the following report controls: TextBox, Table, Chart, and Tablix.