- Getting Started
- Administration Guide
-
User Guide
- An Introduction to Wyn Enterprise
- Document Portal for End Users
- Data Governance and Modeling
- Working with Resources
- Working with Reports
- Working with Dashboards
- View and Manage Documents
- Understanding Wyn Analytical Expressions
- Section 508 Compliance
- Subscribe to RSS Feed for Wyn Builds Site
- Developer Guide
Group By View
In a Group By view, you can use the original fields in the data table, create SQL fields, or calculate fields to group and aggregate data. After grouping and aggregating the original data the dataset has a simple structure, higher data availability, and is more convenient for subsequent use in dashboards or reports.
Follow the below steps to add fields in Group By View
You can add the fields in the Group By view by:
Dragging and dropping the fields in the Group By and Aggregation area
By creating Sql expression fields
By adding the calculated fields
Dragging and Dropping fields in the GroupBy and Aggregation Area
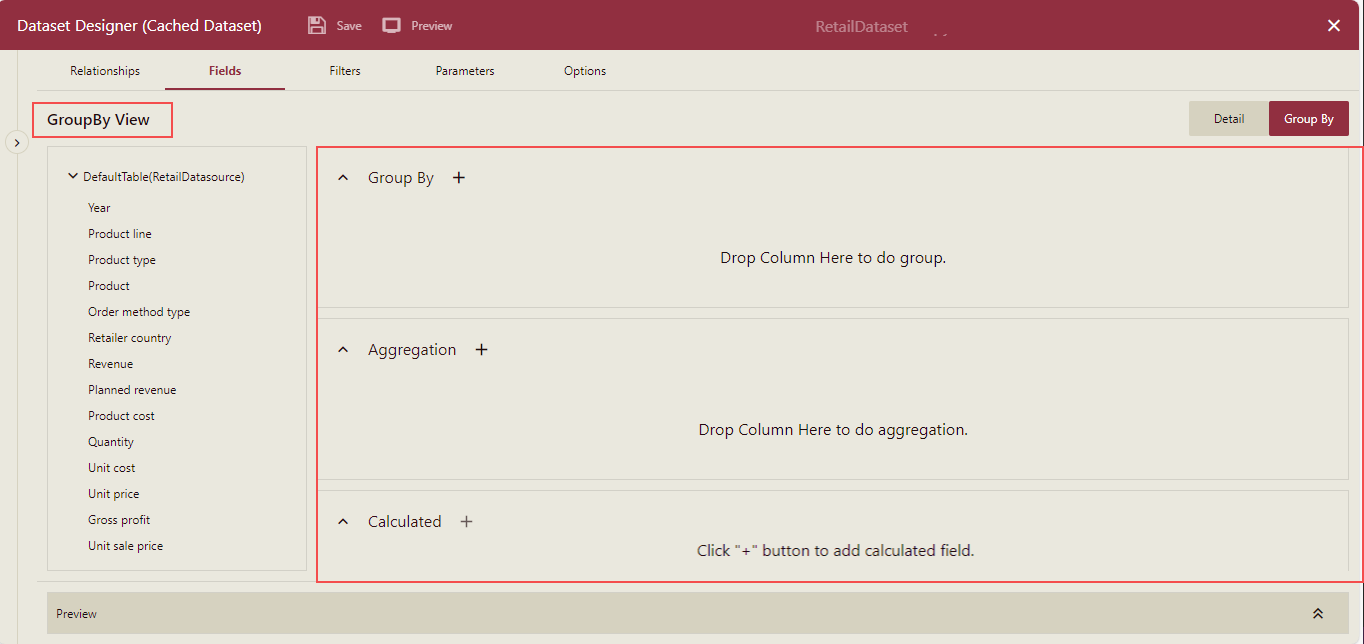
Click the Fields tab and click the Group By button in the upper-right corner of the page to switch the view from Detail to Group By.

When switching between the two views, you will lose your current settings, and a confirmation message is displayed.
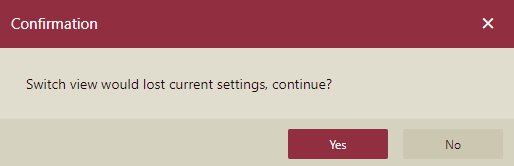
Click Yes on the confirmation message.
A GroupBy View is displayed.
Note: When we change the mode to the 'Group', only the dataset primitive field can be seen. So, the WAX field will be dropped in the GroupBy View.
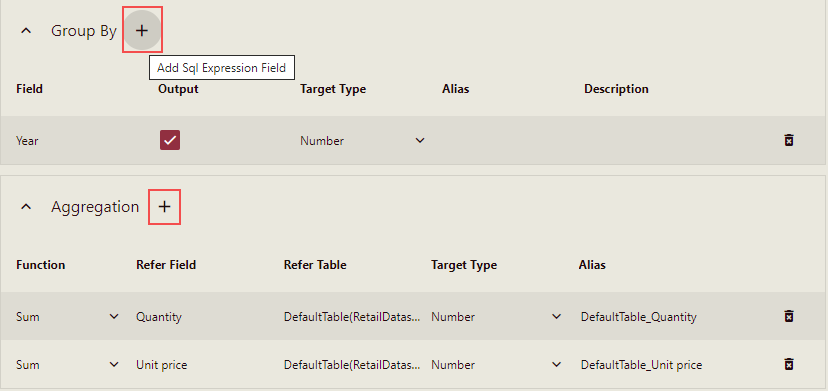
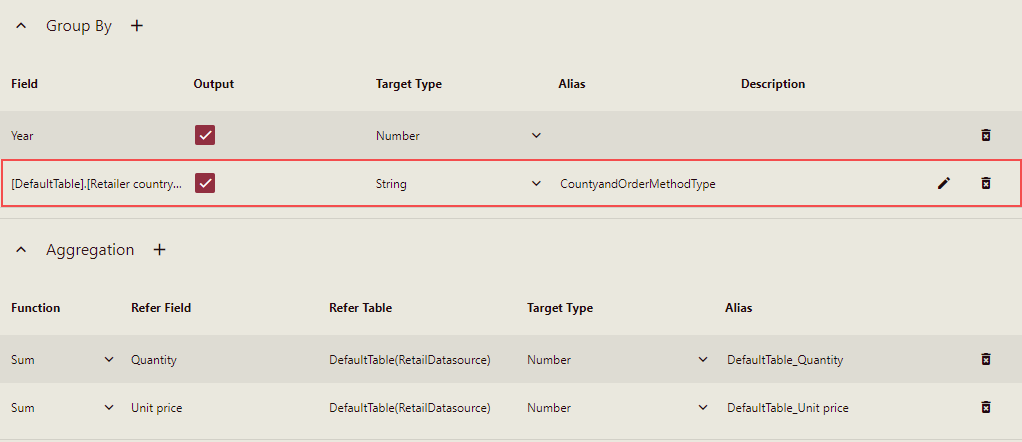
By dragging and dropping, you can add the primitive fields in the data table on the left to the Group By and the Aggregation area.
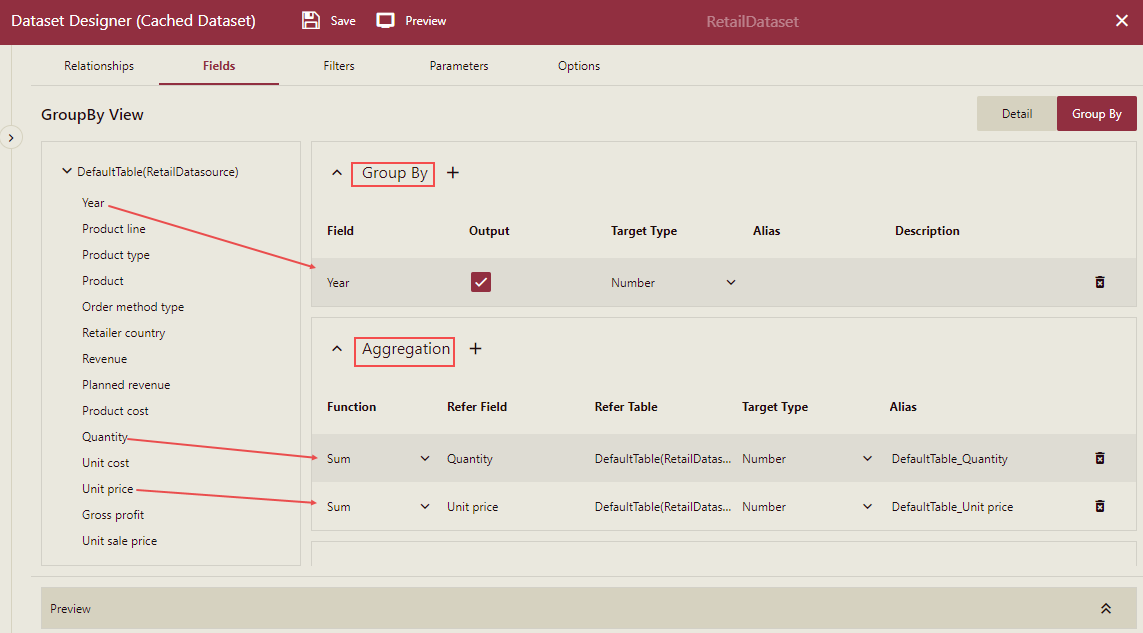
After grouping, you can control whether the grouping field will be visible in the preview by clicking the checkbox, adding aliases and descriptions.
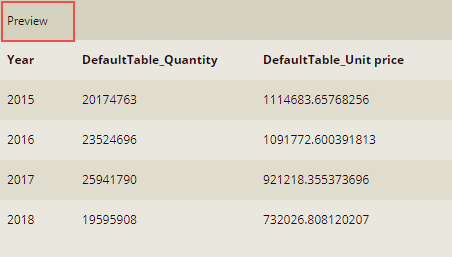
Click Preview. The fields added will be visible in the preview.
The aggregation operations supported for numeric fields include Sum, Average, Max, and Min. For non-numeric fields, you can perform Count and Distinct Count operations. Click the drop-down arrow of the aggregation area function to switch the calculation mode.
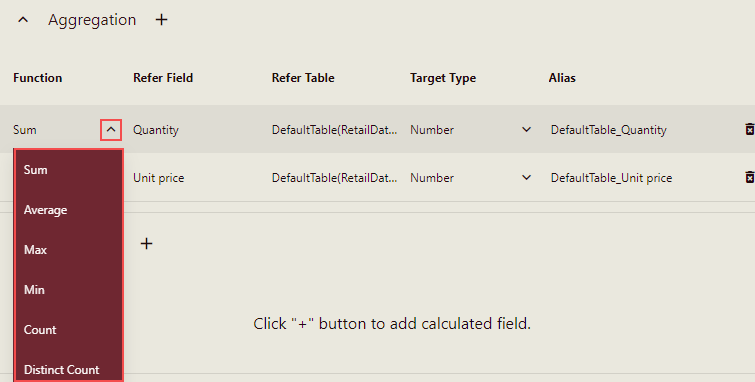
Note: Field aliases are automatically added after aggregation and can be modified.
Creating a SQL expression field for GroupBy and Aggregation area
Click the Add Sql Expression Field option for the GroupBy or Aggregation area where you want to add the Sql expression field.
Sql Expression Field dialog box is displayed.
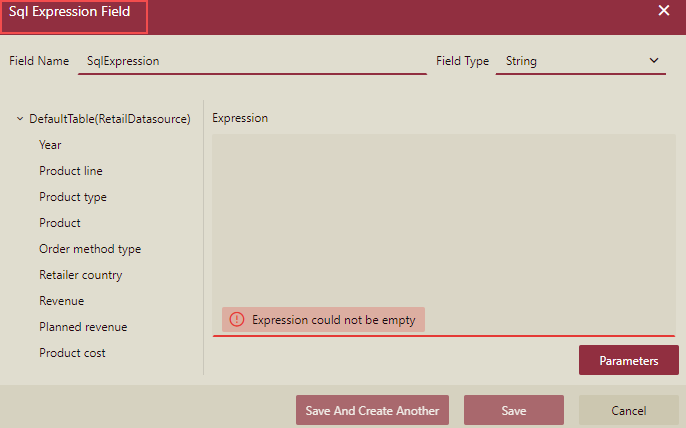
Enter a Field Name in the SQL expression field and then double-click the field list on the left to add the field to the expression, and the field added to the expression will be displayed together with the table name.
Click the Save button to save the expression.
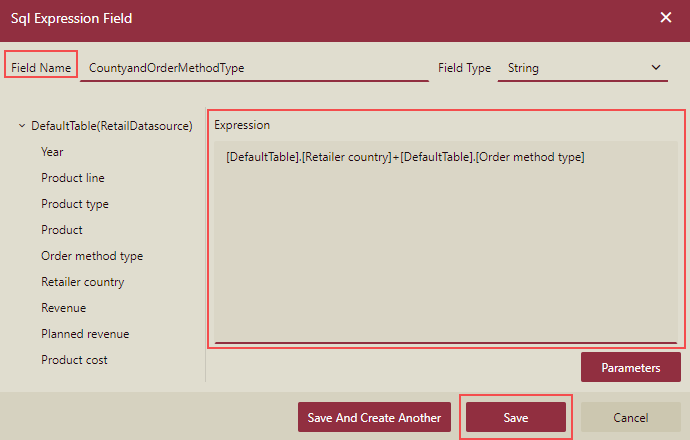
The new field will be visible in the corresponding area.
Click Preview. The Sql Expression field that is added will be visible on the preview.

Adding a Calculated Field
You can add some calculated fields based on the aggregated fields after grouping aggregation, such as calculating the total amount according to existing fields: Total Amount = Total Quantity / Total Unit Price.
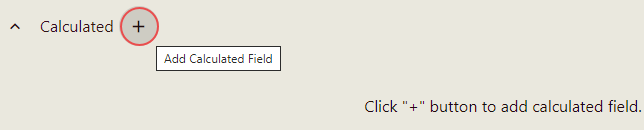
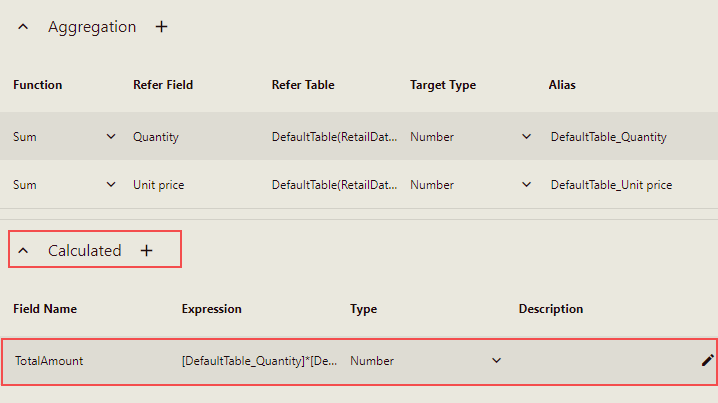
Click the Add Calculated Field button in the Calculated area in the dataset designer to add a new calculated field.
The Calculated Field dialog box is displayed with all the aggregation fields in the dataset.
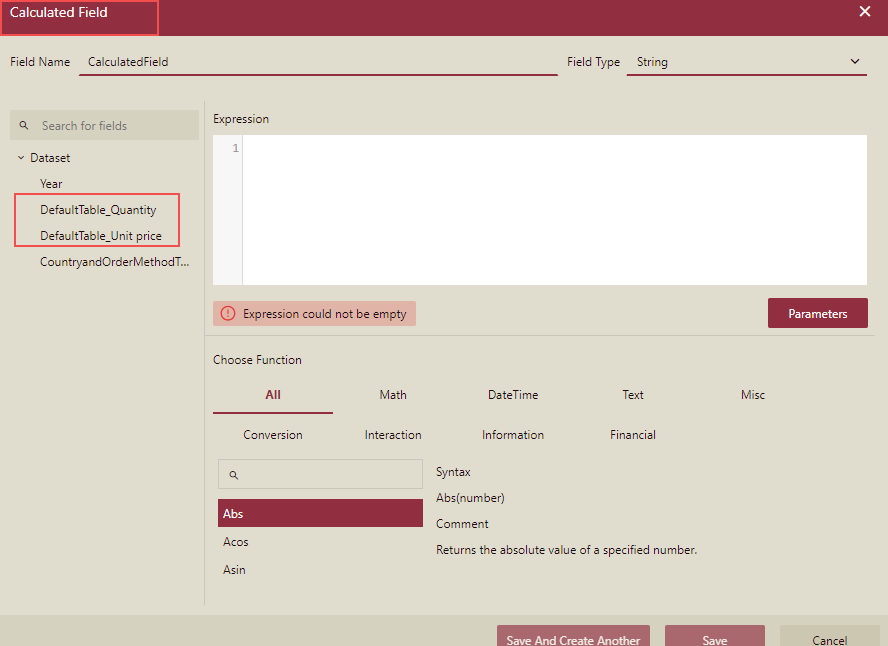
Note: Dragging and dropping to add fields is not supported here.
Name the field and set the field type. Click a grouping aggregation field in the dataset on the left to add it to the expression on the right.
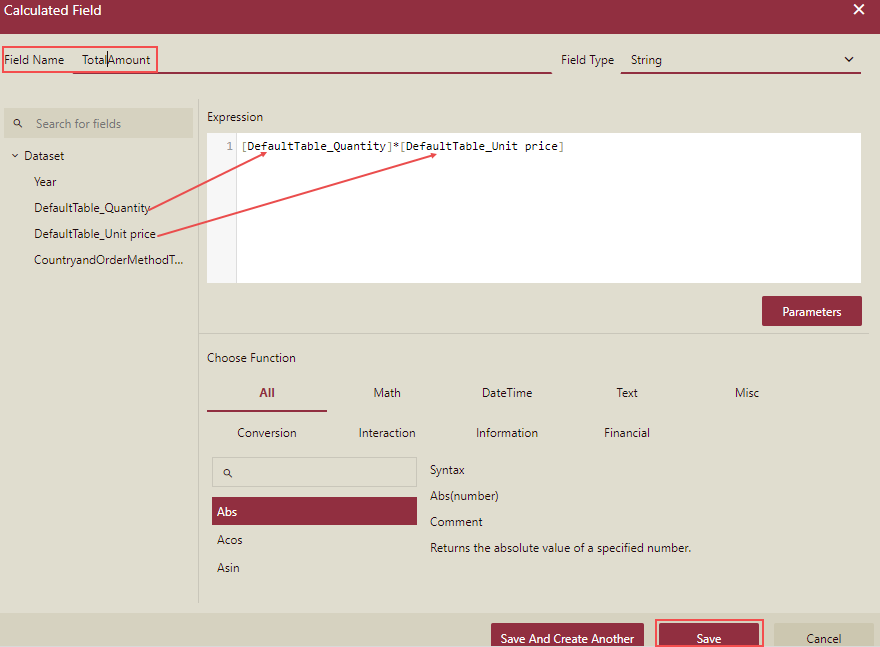
Finally, select Save and Create Another or Save directly as needed.
You can add usage functions to your expressions: including functions in math, datetime, text, blending, type conversion, etc.
The new calculated field now appears under the Calculated section.
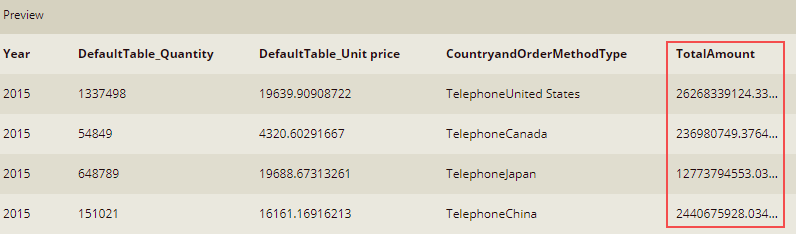
If you preview the dataset, then the Calculated Field will be visible.
Note: In expressions, you can use the @ symbol to refer to query parameters in the dataset.
If you need to use a query parameter that has not been defined before, write it in an expression, such as "@P1", and then click the "Parameters" button to add the parameters.
So now the dataset supports storing the WAX expression and you can use this in the dashboard designer.
Note: You can create WAX expression in Cached Dataset designer only and not in other type dataset designer.