- Getting Started
- Administration Guide
-
User Guide
- An Introduction to Wyn Enterprise
- Document Portal for End Users
- Data Governance and Modeling
- Working with Resources
- Working with Reports
- Working with Dashboards
- View and Manage Documents
- Understanding Wyn Analytical Expressions
- Section 508 Compliance
- Subscribe to RSS Feed for Wyn Builds Site
- Developer Guide
Create a Push Dataset
The push dataset allows users to push the data for real-time data analysis. A push dataset stores this data in a new database and incrementally adds the new rows to the dataset. It is best suitable for analyzing long-term data trends with a strong sense of history. The dataset is updated each time you modify the data.
Unlike streaming datasets, push datasets have no expiry time. For more information on push datasets, refer to the following sections.
Push datasets can be used in both reports and dashboards.
To Create a Push Dataset
Use the below steps to create a push dataset on the Resource portal.
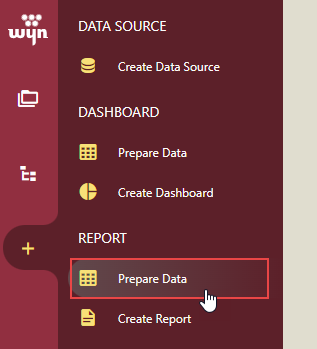
On the Resource portal, navigate to the Create tab and then select Prepare Data for the report.
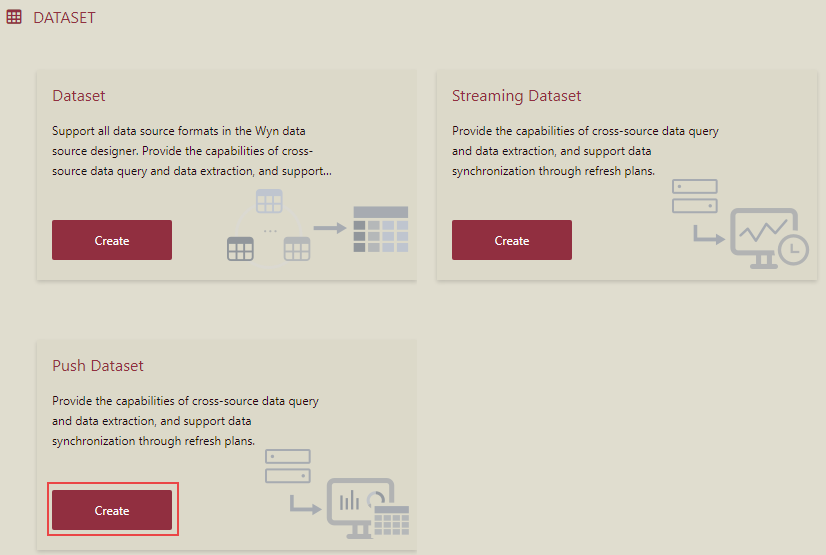
To create a push dataset for the report, click the Create button as shown.
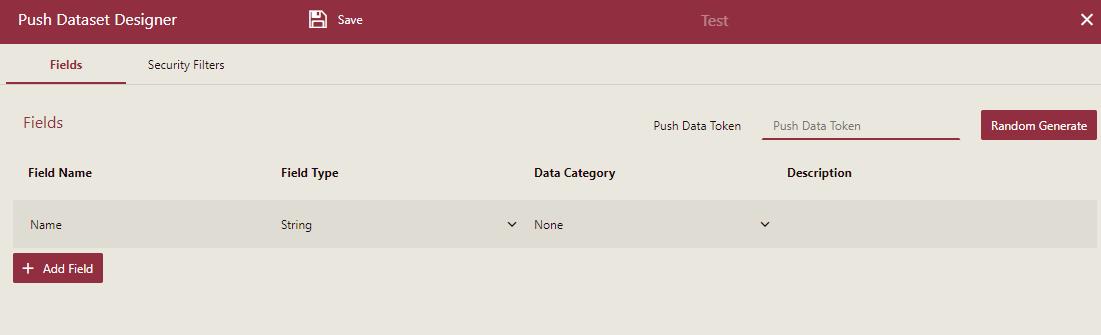
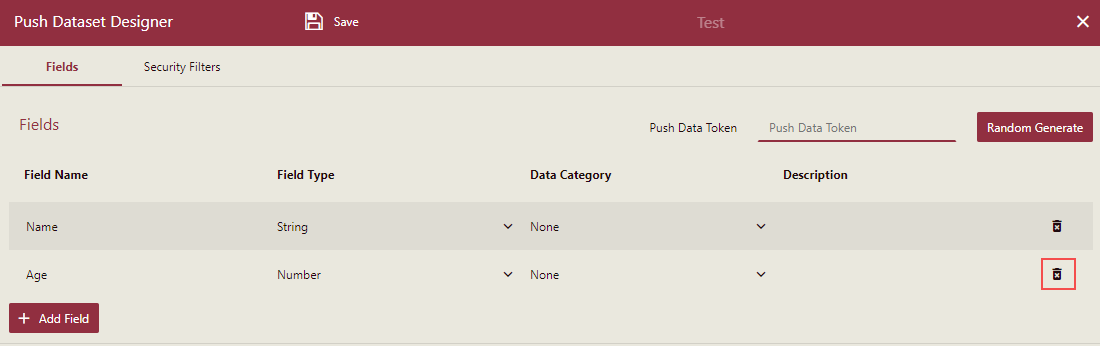
In the Push Dataset Designer window that appears, fill in the following information for the field -
Name - Name of the field. It cannot start with a number, special character (like '<', '>', ':', '?', '*', '/', '|', '"', etc.) or a dot ('.')
Type - Data type for the field. It can be set to string, number, boolean, date, and datetime. By default, the data type for the field is set to 'String'.
Data category - The Data category is used to give visualization hints related to the attribute type when generating a smart scenario through the Visualization Wizard. Different data types have different possible values. For example, the string data type supports these values: Geography(Country, State/Province, City, District), Image URL, or Image Binary. The numeric data type supports these values: Currency, Geography (Latitude, Longitude).
Description - Additional information about the field. It is optional.
Note: Push dataset must contain at least one field.
You can add more fields to the dataset using the + Add Field button as shown.
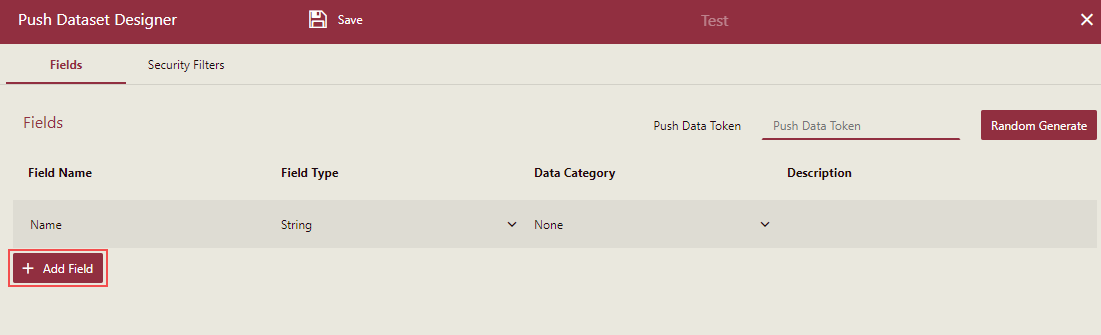
Enter a valid string with a maximum length of 20 characters in the Push Data Token, or click the Random Generate button to generate a random data token. If you want only an authorized user should insert or clear the data in a push dataset, the value of the Push Data Token must be specified.
Once the Push Data Token is set, you must add this token in the endpoint URL to add or clear data.
To Save a Push Dataset
Use the below steps to save a push dataset on the Resource portal.
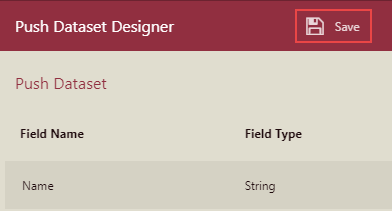
Click the Save button to save the push dataset. The dataset is now ready to be bound to reports.
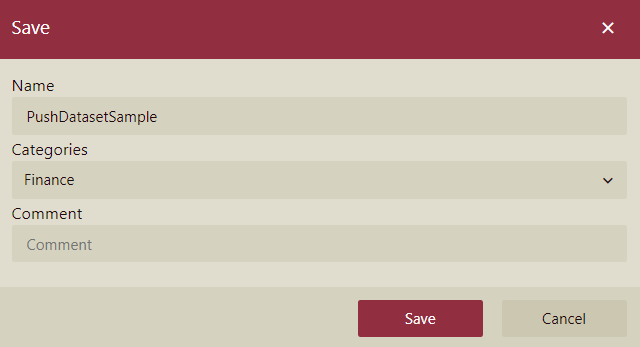
In the Save dialog box that appears, enter the dataset name, assign a category, and add a comment (if any) as shown.
You can view the added dataset under the specified category in the Category tab of the Resource portal.
Currently, the push dataset only defines the table structure. You can preview the dataset to view the table structure.
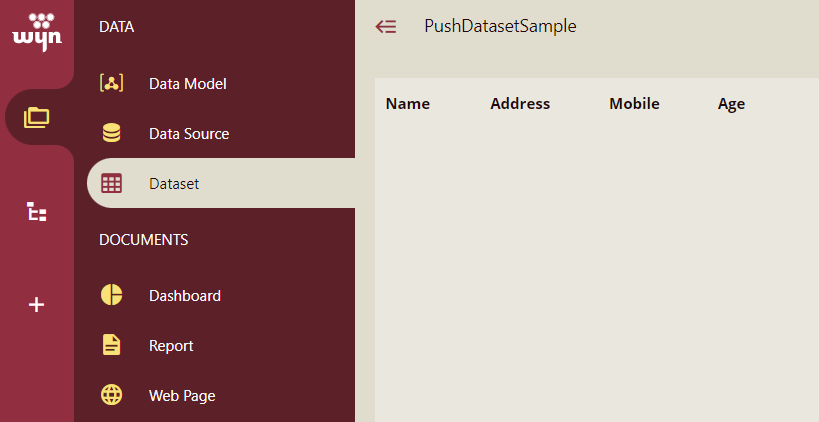
Since no data is pushed to the dataset, there are no rows added to the dataset. For more information on how to push data, see the below section.
To Push Data
In Wyn Enterprise, the only way to insert data into the push dataset, is through API (JSON). Please see this article for more details.
To Clear Data
In Wyn Enterprise, the only way to clear data from the push dataset, is through API (JSON). Please see this article for more details.
To Edit a Push Dataset
Editing a dataset includes adding new fields to the dataset, modifying or deleting the existing field names or types, and more. Use the below steps to edit a push dataset.
Note: Existing data is lost when you edit a push dataset.
On the Resource portal, go to Document Types > Dataset.
Select the push dataset that you want to edit.
Click the More button and then select Edit from the list.
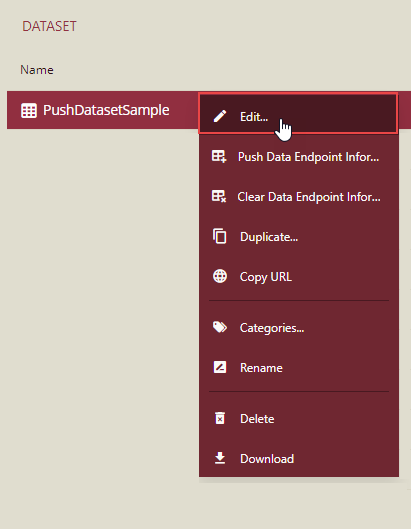
In the Push Dataset Designer window that appears, you can now edit the dataset. For example, you can click the Delete button to delete an existing field.
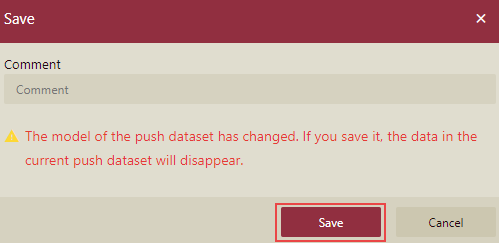
Once you finish modifying the dataset, click the Save button to save the changes.
In the Save dialog box, click Save. Keep note of the caution message that appears while saving the dataset.