- Getting Started
- Administration Guide
- User Guide
- Developer Guide
Assign Categories
Categories help organize reports and dashboards and make navigation easier. You can assign a category to a report or a dashboard on the Documents Portal. You can add a personal category on the Categories page of the Admin portal and use it along with the built-in categories.
To Assign a Category
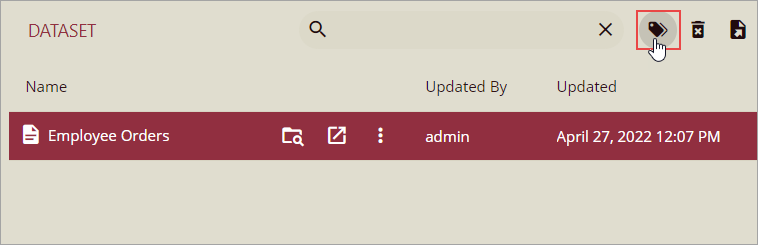
On the Documents Portal, select the document that you want to categorize.
Click the More button next to the selected document and choose Categories... from the list.

Or,
Click the Edit Document Categories button on the top-right corner of the Document portal.
Or,
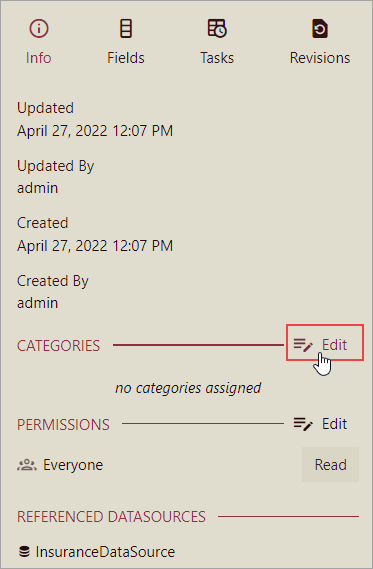
Click the Info button on the extreme right of the Document Portal, and navigate to the Categories section at the bottom. Then, click the Edit button.
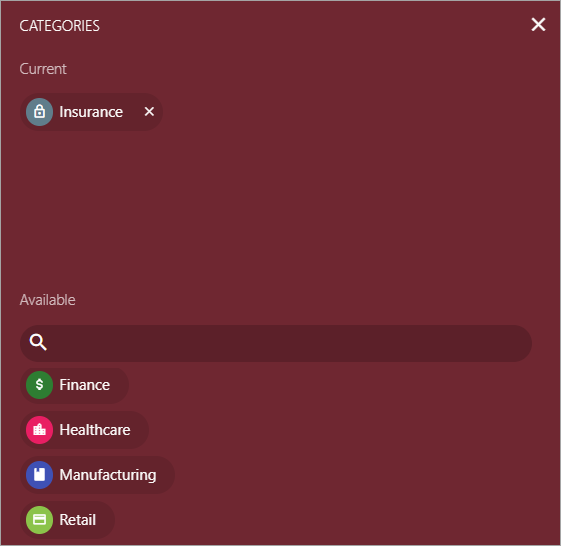
A Categories dialog appears. Select the required category from the list in the Available section or use the search bar to find any.
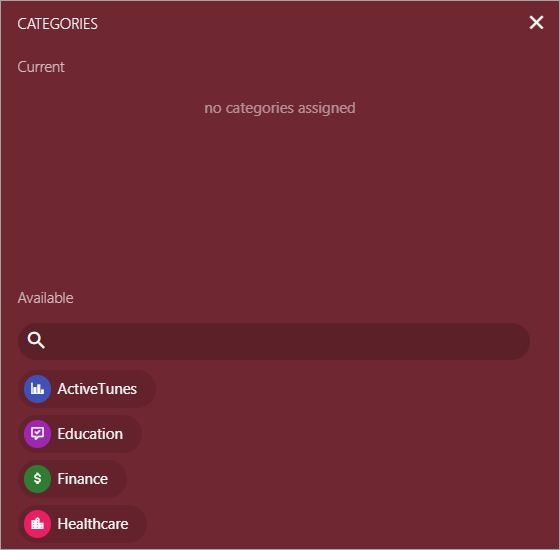
If the resource item is already assigned into certain categories, you will see those categories listed in the Current section.
The resource item is now added to the specified category.
Note: Documents that are not associated with any category, are displayed under No Category in the categories list. If all documents are associated with a category, then No Category is not shown.
To Add a Personal Category
You can add a personal category on the Document Portal and use it along with the default built-in categories (such as Insurance, Finance, Technology, Retail, Manufacturing, Healthcare, Education, and ActiveTunes).
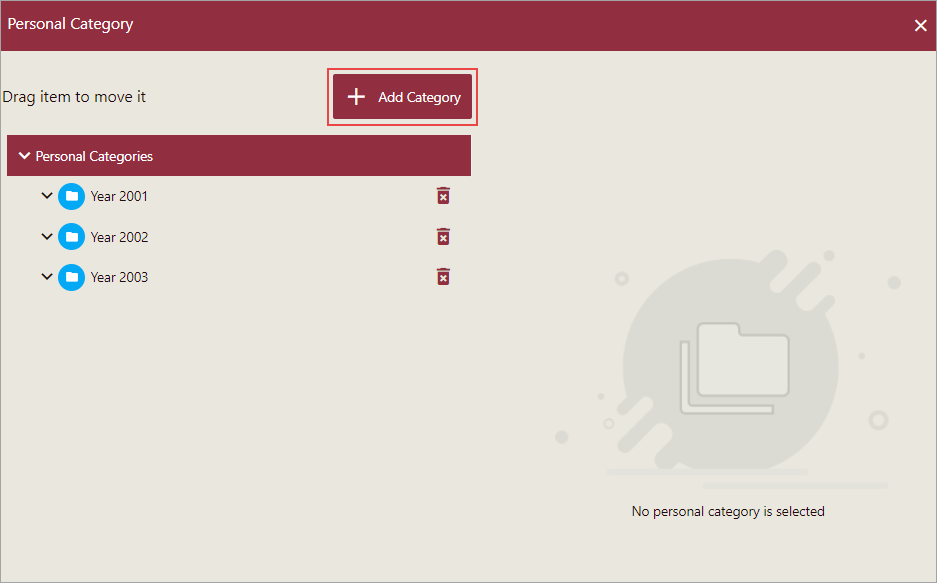
Click the Manage Personal Categories button present on the top left corner of the Categories page.
In the Personal Category dialog, click the Add Category button.
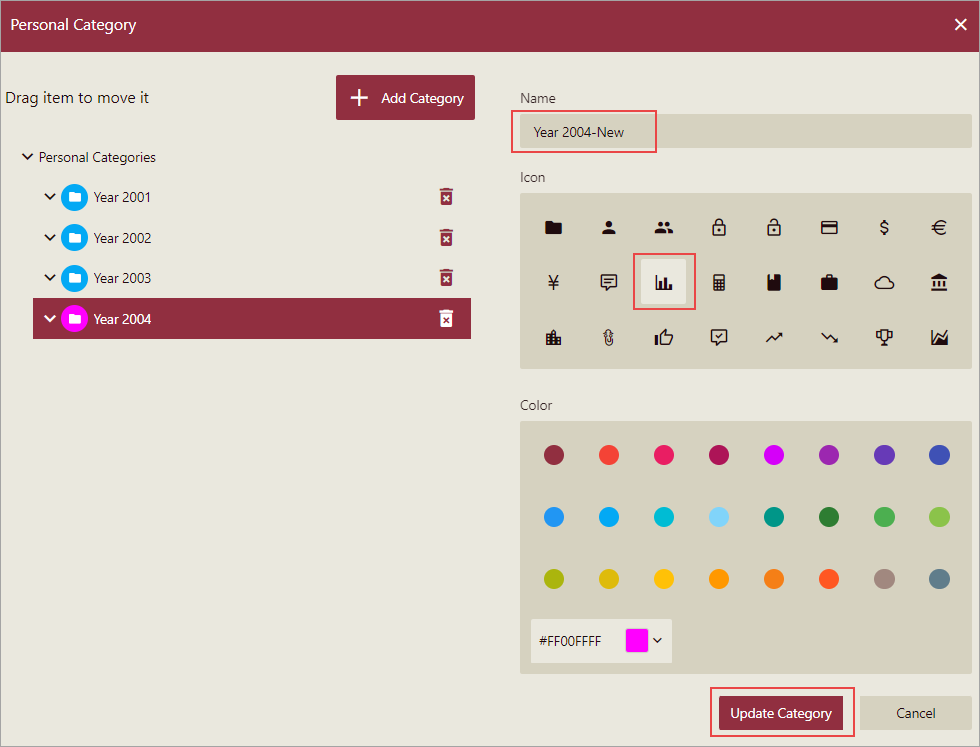
Specify the name, icon, and color for your category as shown in the following image. You can also use hexadecimal or RGBA values to represent the category color.
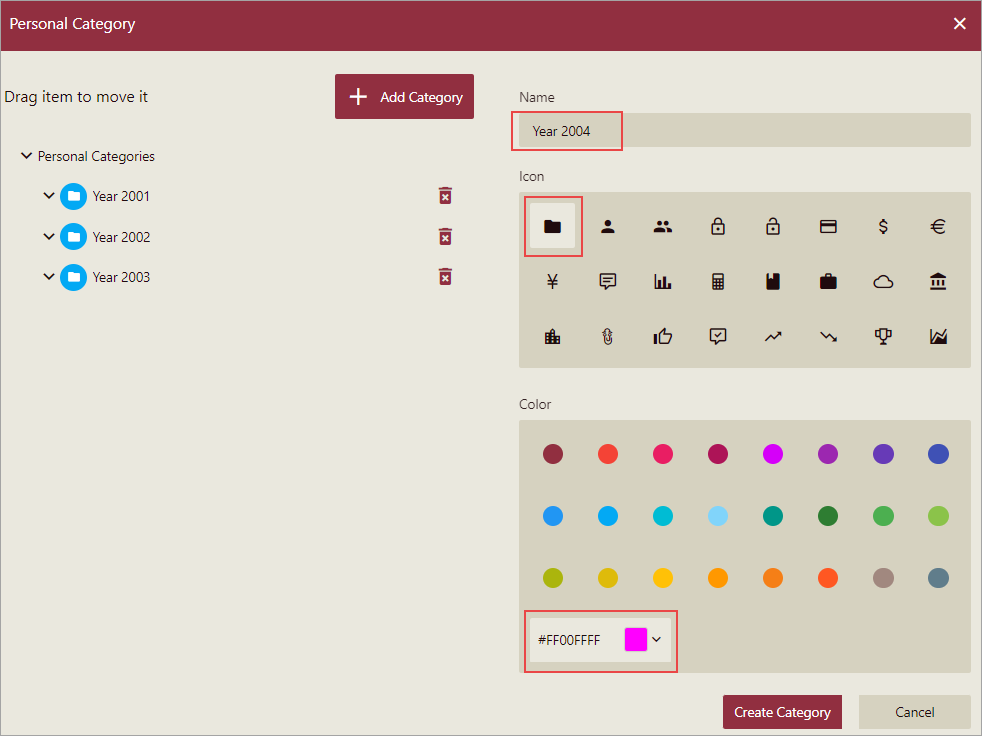
Click the Create Category button to add the personal category.
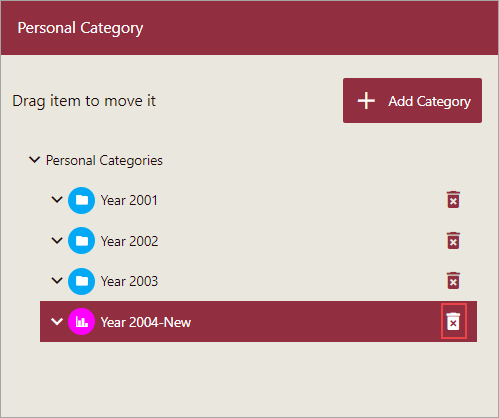
You can view the added category in the personal category list displayed on the left side of the dialog.
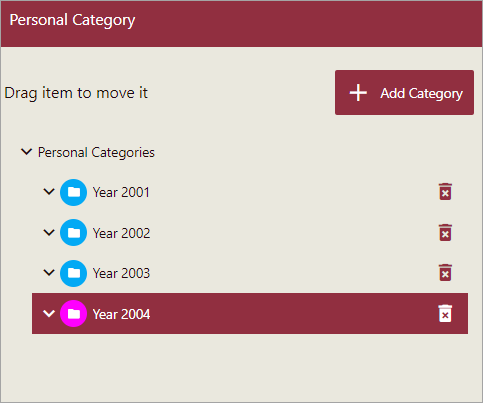
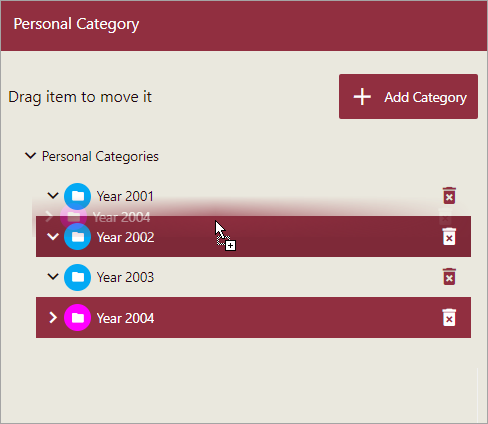
You can drag a category to change its position in the list as shown in the following image.
If you want to change any existing details for a personal category, use the Update Category button in the dialog. You can modify the name, icon, and color for the selected category.
To delete a category, click the Delete icon adjacent to the category name in the list. Note that, once you delete a category, it is gone forever.