- Getting Started
- Administration Guide
- User Guide
- Developer Guide
Add Font
Wyn Enterprise offers a huge variety of built-in fonts for use in your dashboards and reports. You might also want to use your own font to personalize the user experience, promote branding, and so on.
Typically, there are two ways in which you can add a font on the Resource Portal. You can either import the font file from your local system or specify the web URL for the font file. The below section describes the steps to add a font on the Resource Portal by importing the font file from a local system, for use in a dashboard or a report.
The following image illustrates the supported web browsers for the different font formats in Wyn Enterprise.
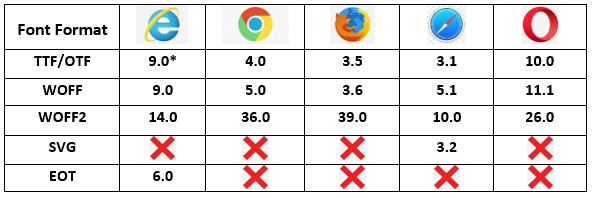
Note: Export formats such as HTML, Word, and Excel do not support custom fonts.
Add a Font
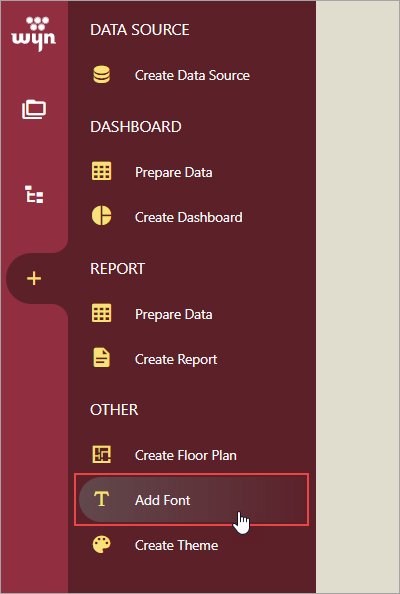
On the Resource Portal, navigate to Create (+) > Add Font.
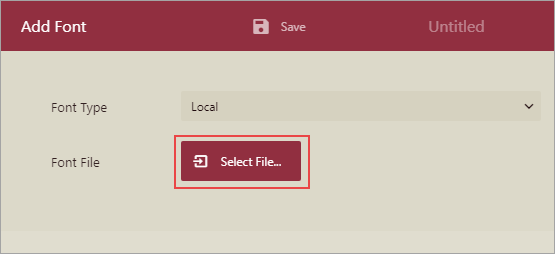
In the Add Font dialog that appears, set the Font Type to either 'Local' or 'Web'. In the following example, we set the Font Type to 'Local'.
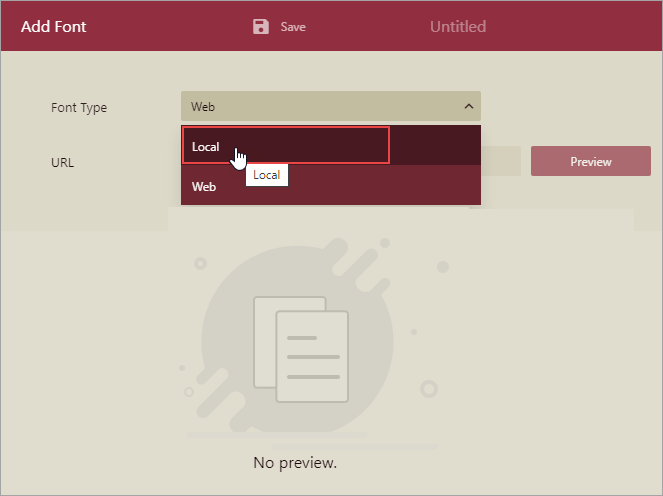
Click the Select File... button to import a file from your local system.
In the Open dialog that appears, browse the file you want to import. Note that only files with valid extensions are uploaded to the server.
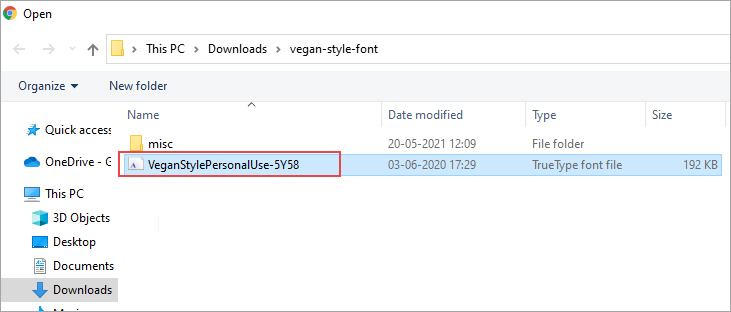
Click the Open button to confirm the import. The font file is now imported to the server successfully.
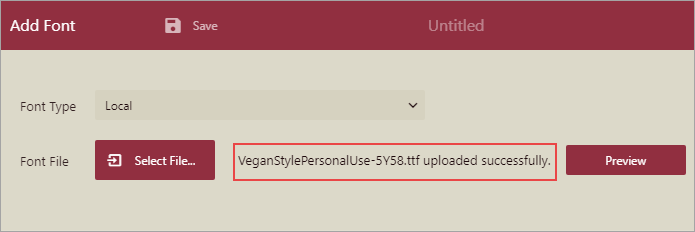
Click the Preview button to view the font. Note that the preview content appears based on the localization settings.

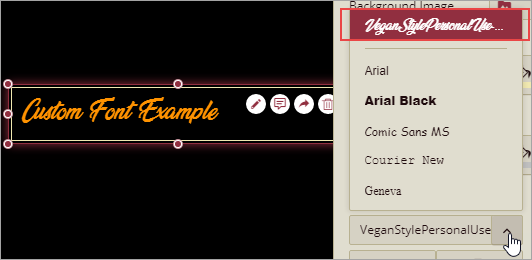
Click the Save button. You can now use this font in the dashboard designer or report designer to set the font settings for titles, labels, etc. in scenarios or controls.
For example, in the below dashboard the font in the Rich Text scenario has been set to the new font using the Content Font Setting property.
Similarly, in the following report, the font in the TextBox control has been set to the new font using the Font Family property.

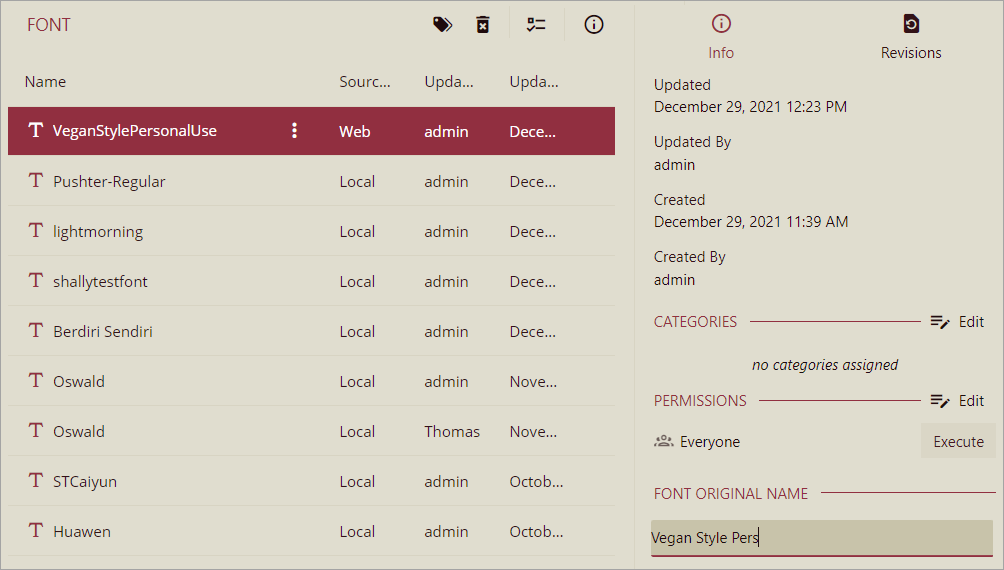
Note: To use custom fonts, the report needs to read the original name of the font file. However, the original font names for all the font files cannot be read correctly. Therefore, in such cases, you can manually edit the original names for the font files in the Info panel as shown.
Ensure that the specified original name is correct, else the report may be displayed incorrectly on preview.