- Getting Started
- Administration Guide
- User Guide
- Developer Guide
Create Custom Report Template
Wyn Enterprise allows you to create custom report templates of your choice that you can use whenever you create a new report with similar content and structure. For example, a custom report template may have a page header displaying the company logo and the address.
In Wyn Enterprise, you can create a template through the Save Report as Template option available in the Save As dialog box.
Once the template is created, you can use it as the basis of your new report through the Choose Template dialog box.
The Choose Template dialog box consists of two built-in categories - All Templates and Standard Templates. By default, All Templates category is selected, which lists all the available templates on the Wyn Enterprise Server (including the standard templates). While, the Standard Templates category lists only those report templates that are not assigned to any category.
To get more details, please go through the following sections:
To Create a Custom Report Template
Use the below steps to create a report based on a standard (or built-in) report template and then save it as a template.
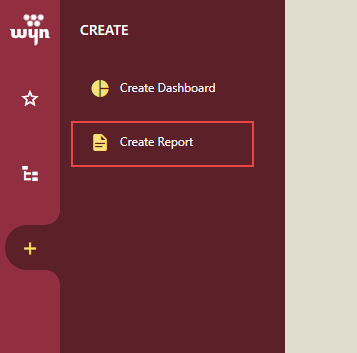
In the Document Portal of Wyn Enterprise, create a report by selecting Create > Create Report.
In the Report Templates dialog box that appears, select a template for your report. You can choose a Blank RDL Report, a Blank Page Report, or a custom report template (if any) from the available ones.
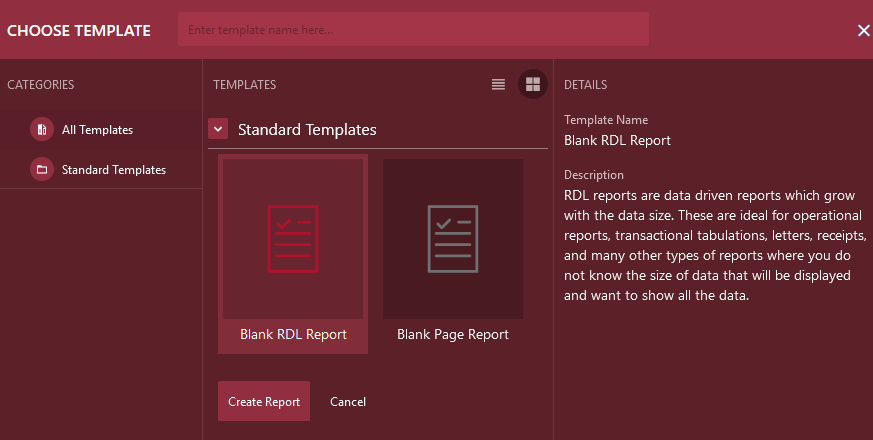
Note: You can hide the standard report templates, that is, blank RDL report and blank Page report, by setting the Hide blank RDL report and Hide blank Page report properties to 'True' in the Feature Settings of the Admin Portal. For more information, see the Viewer Settings article.
After selecting the template, click the Create Report button.
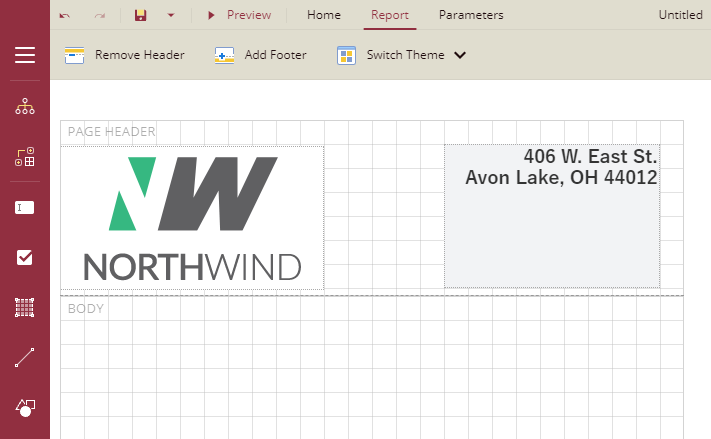
A new report is created based on the chosen standard report template. You can create or customize the report by binding it to a dataset, adding report controls, improving the report layout and appearance, etc. to suit your needs.
In the below report, we added an Image control and a TextBox control on the Page Header area to display the company logo and address.
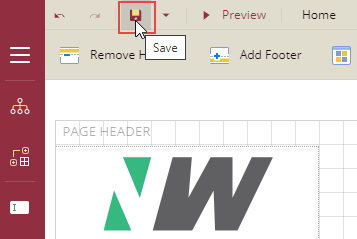
Finally, click the Save button on the Menu bar to save the report.
In the Save As dialog box that appears, select the category where you want to save the report. For example, select SampleCategory1.

Enable the Save as Template option to save the report as a custom report template.

Your report has been saved as a custom template.
To Create a Report based on a Custom Report Template
Follow the below steps to use the custom report template (i.e. CustomTemplate1) created above as the basis of a new report.
In the Document Portal, select Create > Create Report to create a new report.
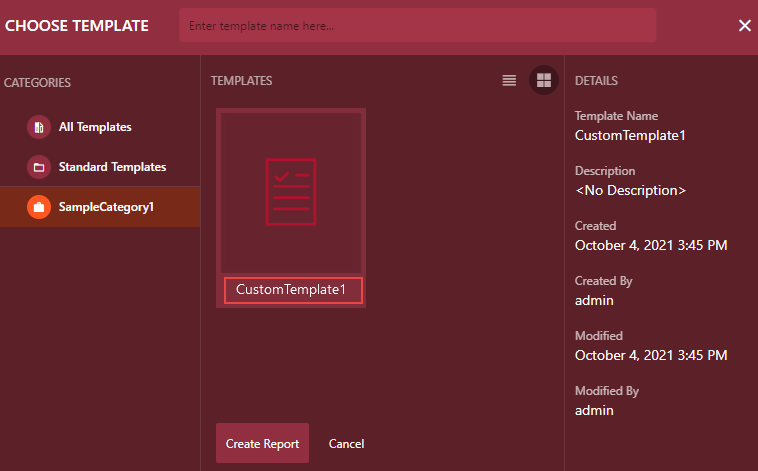
In the Report Templates dialog box that appears, navigate to the desired category where you saved your report template. In this case, navigate to the SampleCategory1. The panel on the left displays the template details such as the name, description, created date, created by, modified, and modified by.
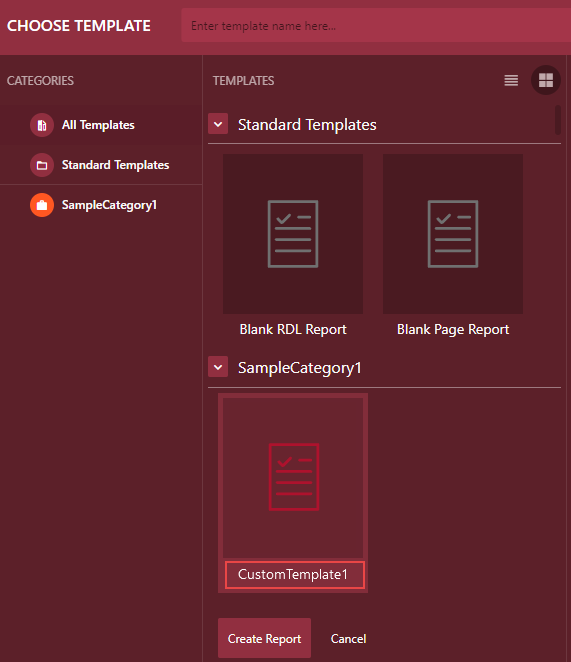
You can also navigate to the All Templates category that lists all the available templates on the server (including the standard templates). This is the default chosen category.
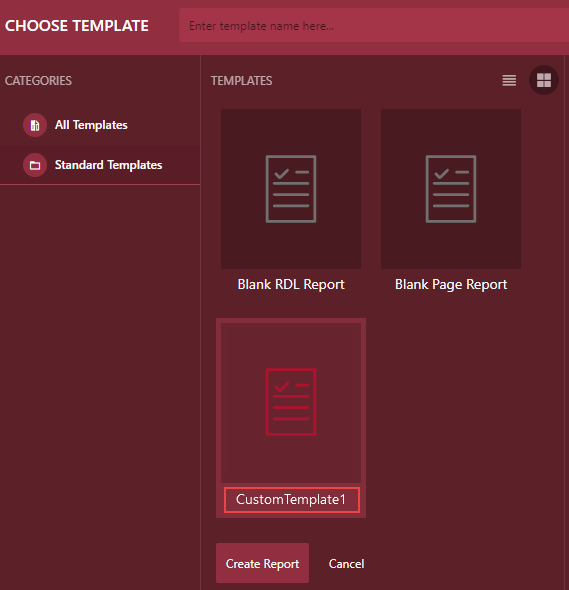
In case you did not assign the template any category, the report template will then be listed under the Standard Template category as shown below.
Click the Create Report button. A new report is created based on CustomTemplate1.