- Getting Started
- Administration Guide
- User Guide
- Developer Guide
Create a Data Model
The procedure for creating a data model for a report is typically composed of three steps - select the model type, configure data source connection details, and select the desired tables and views.
In Wyn Enterprise, you can create a data model by manually filling in the configuration details in the designer or by re-using an existing data source available on the server. The supported data source types are Oracle, SQL Server, MySQL, and PostgreSQL. This article describes the detailed steps to create a data model using both these methods.
To Create a Data Model Using an Embedded Data Source
An embedded data source is defined in the data model itself and is used only by that model. Use the below steps to create a data model with an embedded data source.
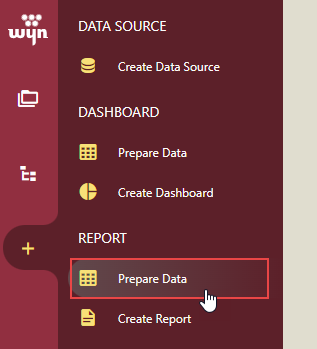
On the Resource Portal, navigate to the Create tab and select Prepare Data under the Report section.
To create a new data model, click the Create button.

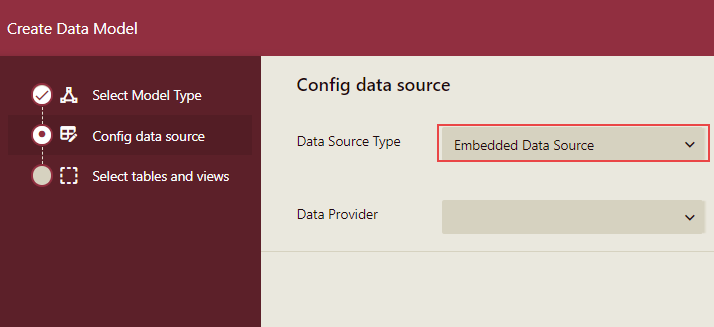
In the Create Data Model window that appears, set the Data Source Type to Embedded Data Source.
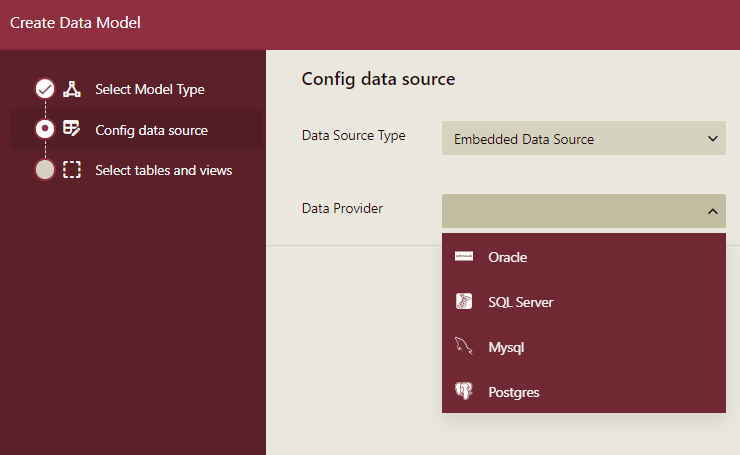
Select the Data Provider you want to use for the data model. The supported data providers are Oracle, SQL Server, MySQL, and PostgreSQL.
Based on the chosen data provider, the configuration details for the data source can vary. Let's say, you chose the SQL Server provider as shown below.
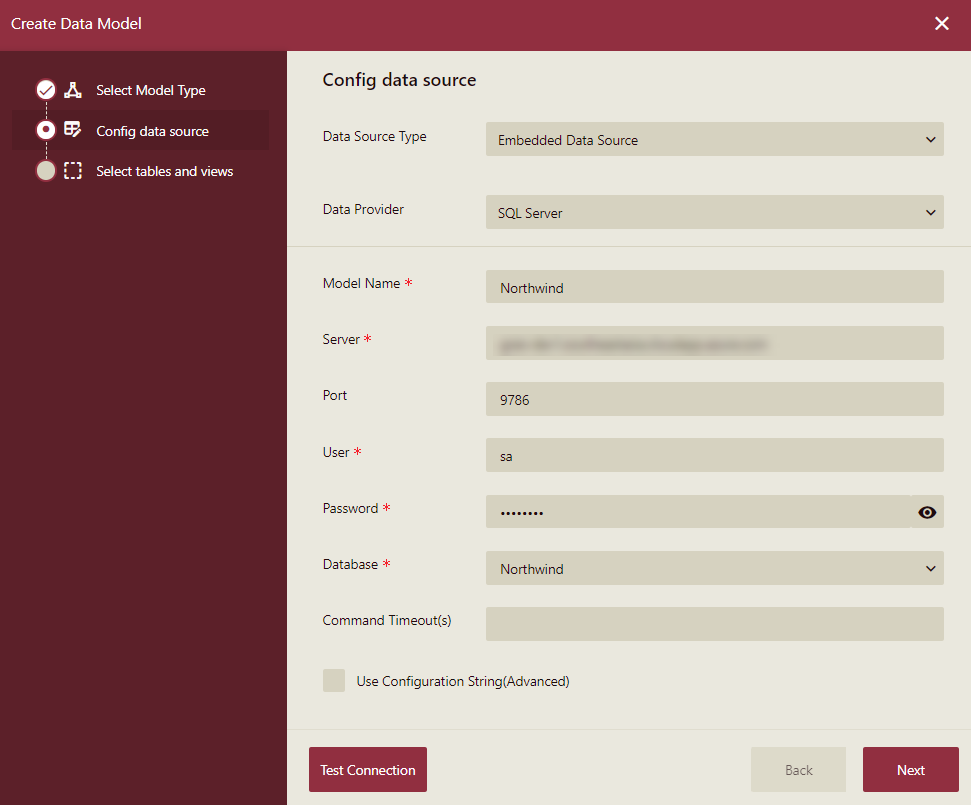
You can connect to the data source by either entering the configuration details in the respective fields or directly through the connection string.
Please note that for SQL Server data source, you can add the option recompile=true in the query while creating the data model using the advanced connection string.

The recompile option can make the query run faster.
To verify the data source connection, use the Test Connection button, and then click the Next button to proceed further.
Select the tables and views you want to include in the data model. You can use the following options also -
Find additional relations - This option is used to include or exclude the additional relations for which there are no foreign key relationships in the database schema. If you uncheck this option, a data model with predefined relationships is created with no additional relationships.
Select or clear all items - This option is used to select all the items in the list, or clear the chosen items in the list.
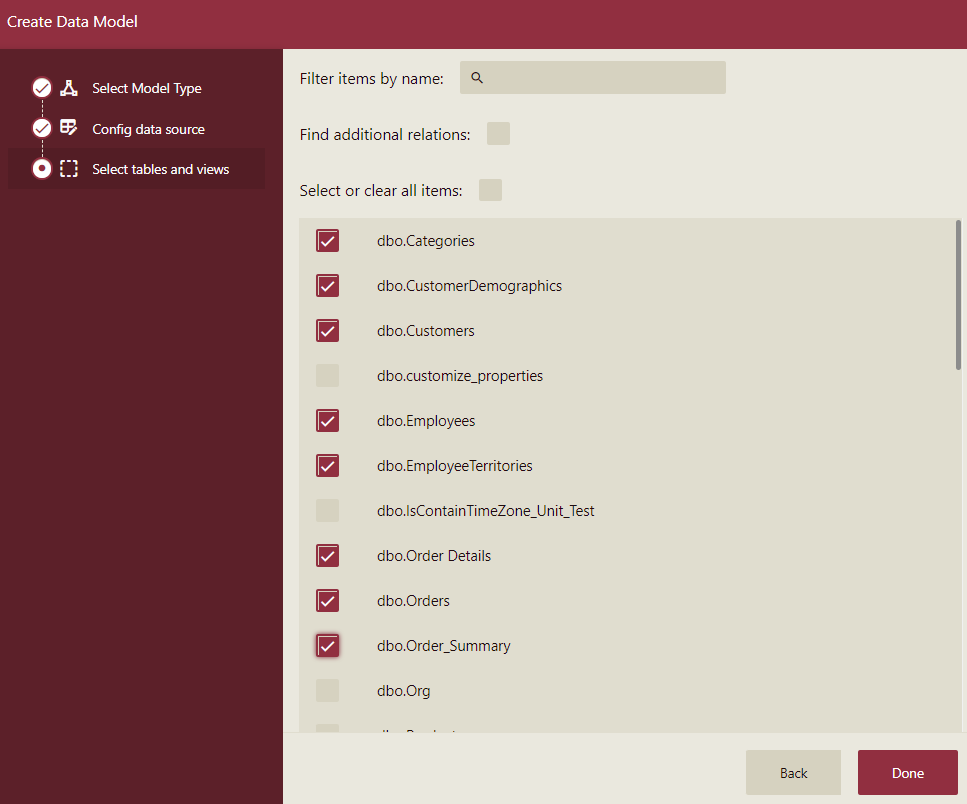
Now, click the Done button.
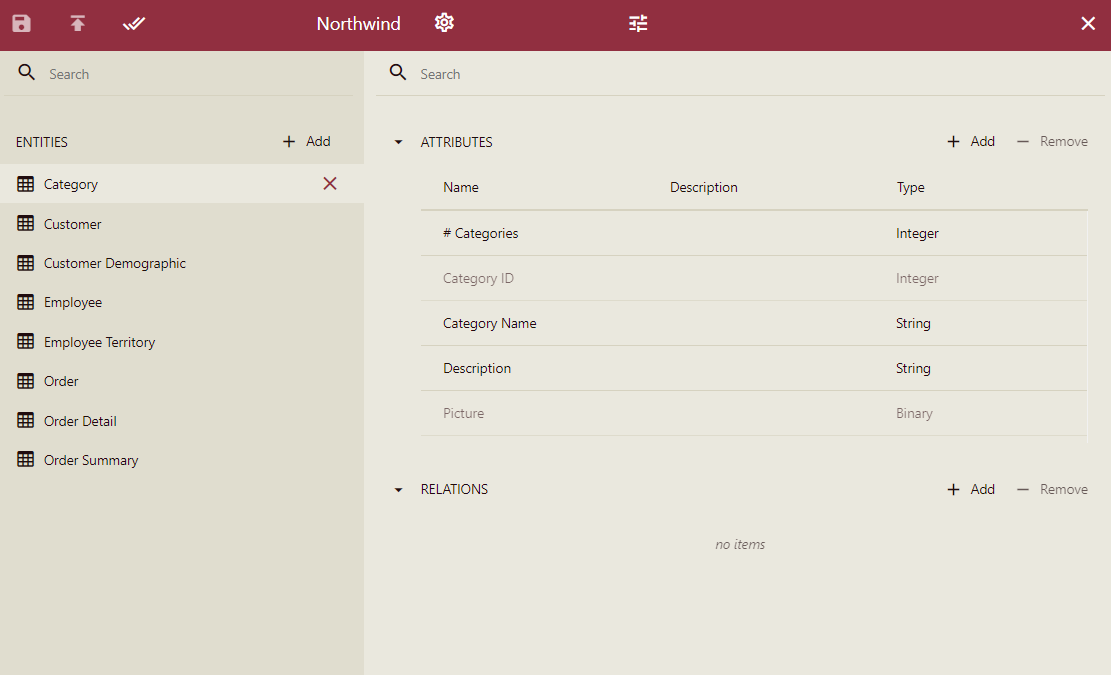
Based on the defined settings, a data model is created as shown below.
To Create a Data Model Using a Shared Data Source
A shared data source is a data source that already exists on the portal. It is best suitable in scenarios where you want to use the same data source to create different data models.
On the Resource Portal, navigate to the Create tab and select Prepare Data under the Report section.
To create a new data model, click the Create button.
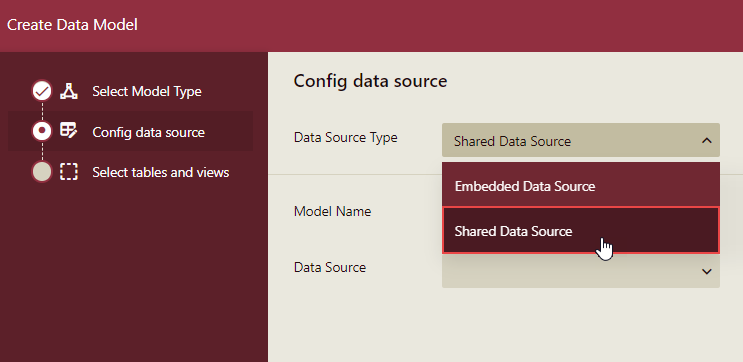
In the Create Data Model window that appears, set the Data Source Type to Shared Data Source.
Enter the name for the data model in Model Name.
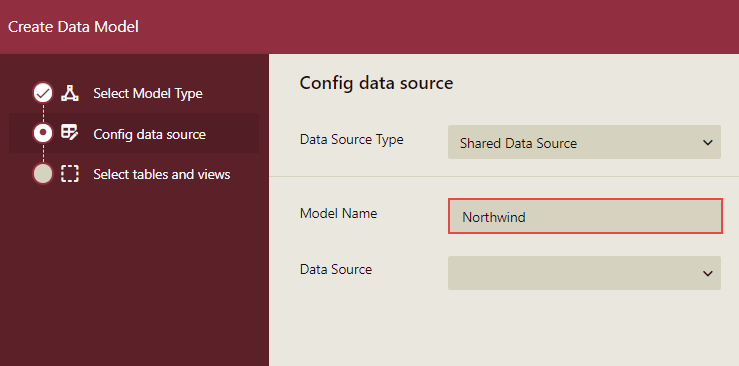
Select the Data Source you want to use for the data model. The list displays the existing data sources available on the server supported by data models - Oracle, SQL Server, MySQL, and PostgreSQL.
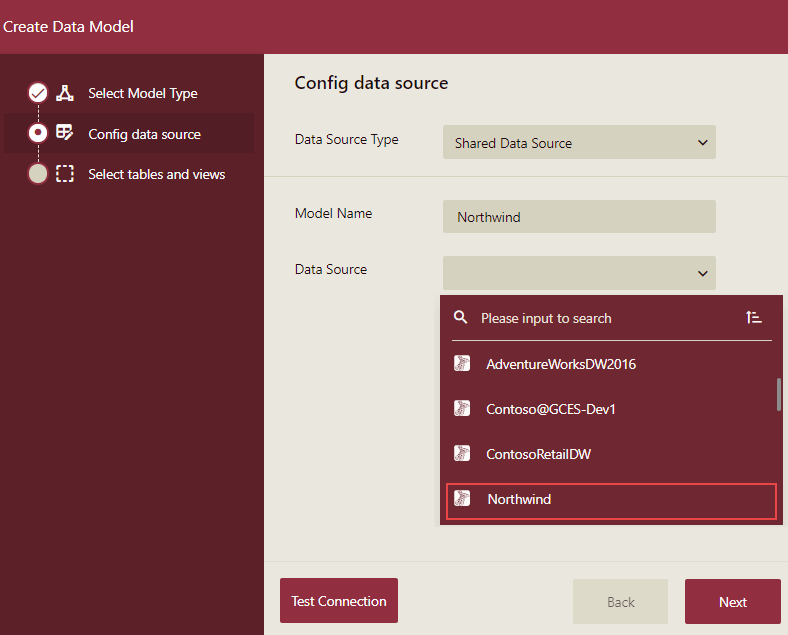
Note: The list displays only those data sources on which you have sufficient permissions i.e. Execute/Create, Read/Write, and Full Control.
You can select the SQL Server Data Source having the recompile option to create a semantic model. The recompile option can make the query run faster. For this, you need to add the option recompile=true in the query while creating the Data Source using the advanced connection string as shown below.
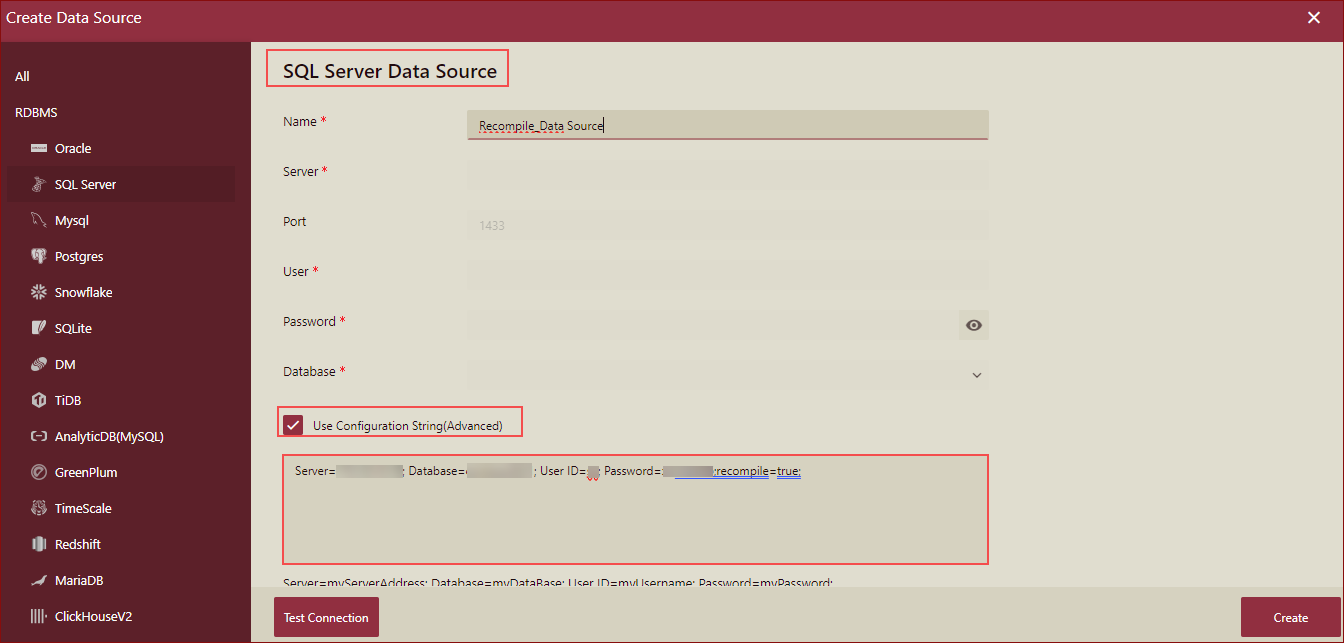
For details refer to the topic Recompile Option.
To verify the data source connection, use the Test Connection button, and then click the Next button to proceed further.
Select the tables and views you want to include in the data model. You can use the following options also -
Find additional relations - This option is used to include or exclude the additional relations for which there are no foreign key relationships in the database schema. If you uncheck this option, a data model with predefined relationships is created with no additional relationships.
Select or clear all items - This option is used to select all the items in the list, or clear the chosen items in the list.
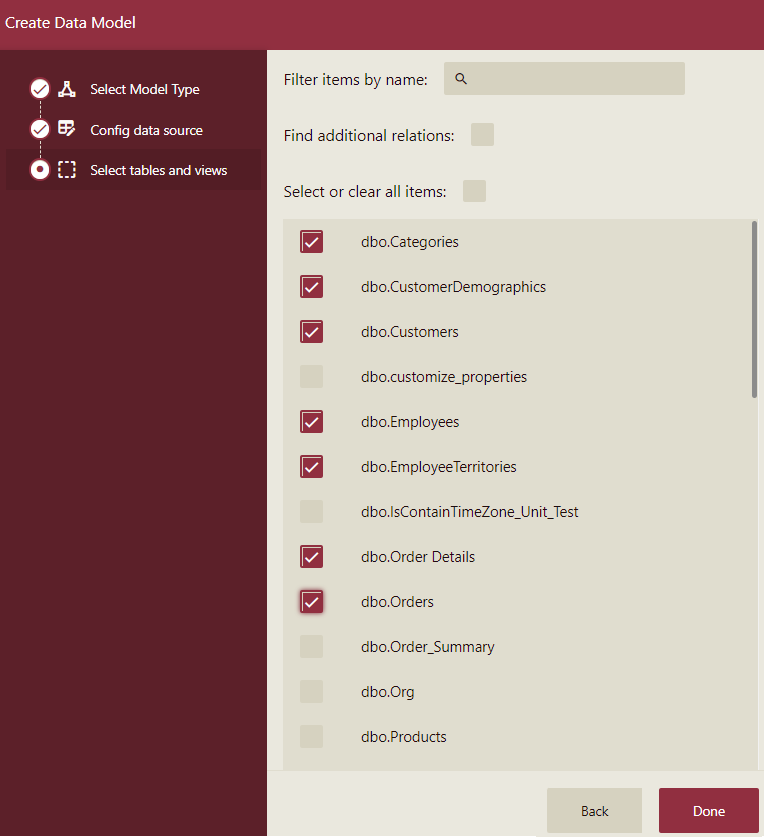
Now, click the Done button.
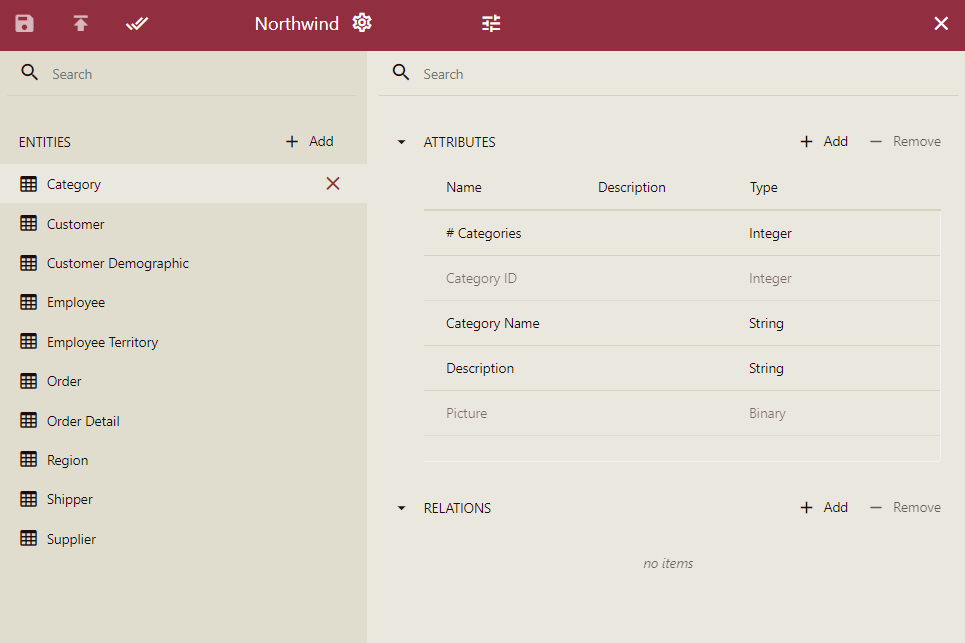
Based on the defined settings, a data model is created as shown below.
To Edit, Validate, and Save a Data Model
Edit your data model, by adding new entities, attributes, relations or updating the existing ones.
Note: If the data source referenced by the data model is no longer available on the portal, then you cannot change or use the data model anymore.
Click the Validate button to verify the changes.

On successful validation of data model, a notification appears - 'Model validated successfully'.
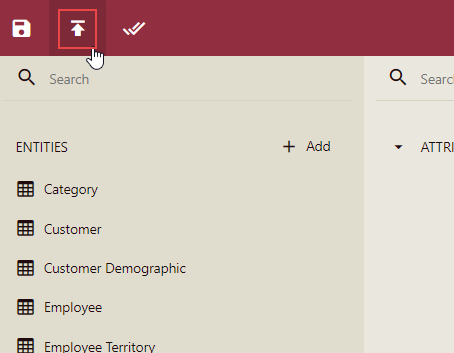
Click the Save and Publish button on the top left corner of the editor. The data model needs to be published so that the reports using that model are updated with the latest changes.
Note: Use the Save Draft button if you don't want to publish your changes. The report(s) using that data model would not be affected.
In the Save and Publish dialog box, enter a comment if any (the added comment will appear in the revision history), and check the Update the version of the relevant documents option to update the latest version of this data model in the relevant reports. Note that this option is only available if the current data model is referenced by one or more reports.
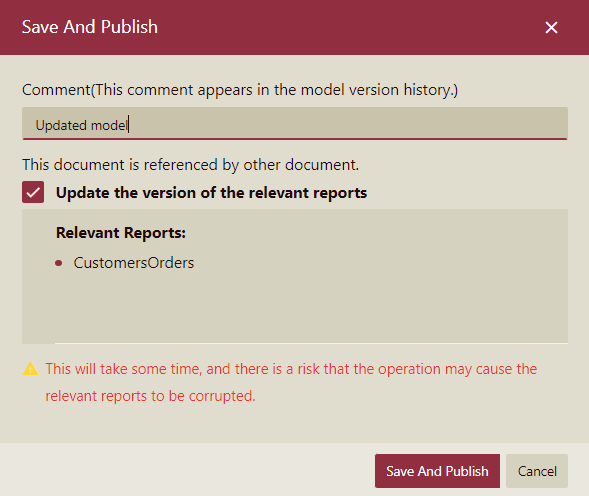
Click the Save and Publish button.