Visualization
Wyn Enterprise provides end-users with efficient custom visualization possibilities, enabling you to implement your unique visualization demands. You can create and add your visualization plugins on Wyn Dashboards. The Administrator then manages the visualization files - sets a token, downloads, or deletes the file from Wyn Enterprise.
To Set Configuration of a Visualization File
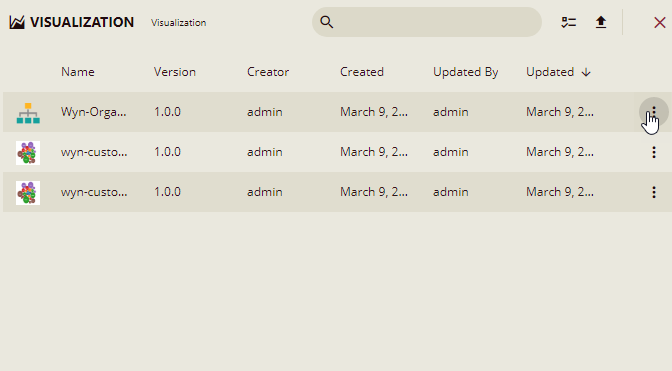
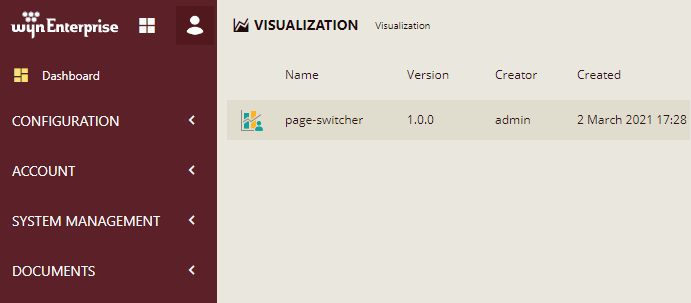
On the Types tab of the Documents page, click Visualization.
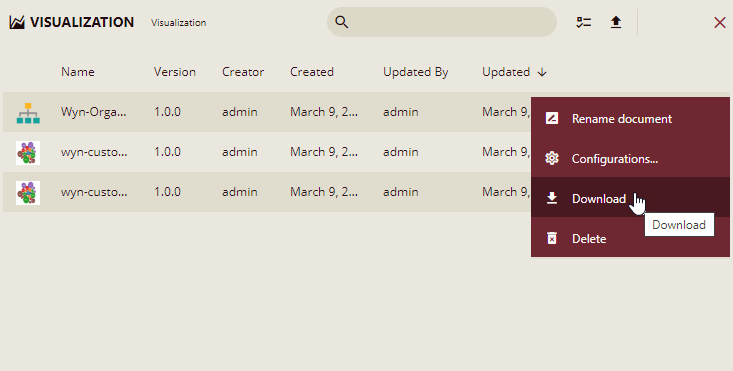
Click the action overflow menu icon next to the visualization file you want to modify and select Configurations....
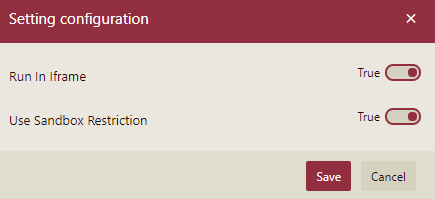
In the Setting configuration dialog that appears, specify the following two options for the visualization file:
Run In Iframe - Specify whether to run the visualization file in Iframe or in Div tags. By default, this option is set to 'True'.
Use Sandbox Restriction - Specify whether to use the sandbox restriction or not. This option is helpful in setting restrictions in the iframe content in case you set the Run In Iframe option to 'True' .
Note: For older versions of visualizations with Is Trusted option set to 'True', the value for the Use Sandbox Restriction option is 'False'.
To Download a Visualization File
On the Types tab of the Documents page, click Visualization.
Click the action overflow menu icon next to the visualization file you want to download, and then select Download from the list.
The downloaded visualization file is saved as a .viz file.
To Upload a Visualization File
On the Types tab of the Documents page, click Visualization.
Click the Upload button
 on the top-right corner of the portal.
A pop-up window will appear on the right where you can upload your visualization file(s).
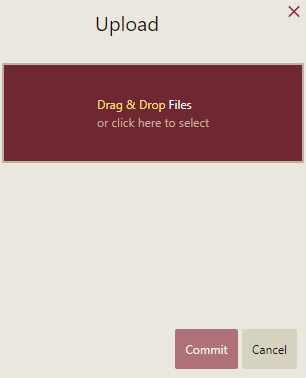
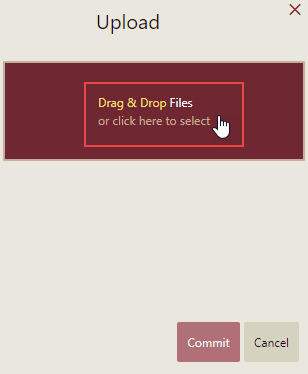
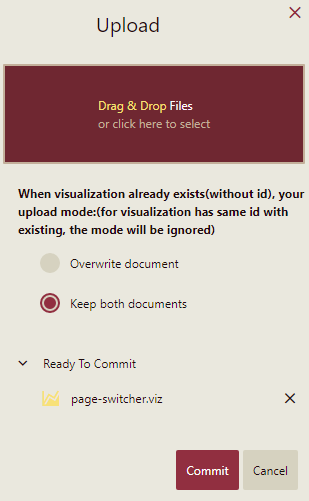
Click Drag & Drop Files or click here to select in the window to upload a new (or existing) visualization file(s) from your computer.
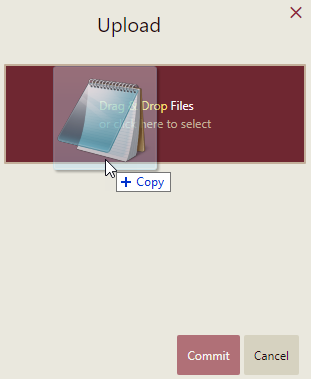
Or, you can drag and drop the visualization file(s) from your computer.
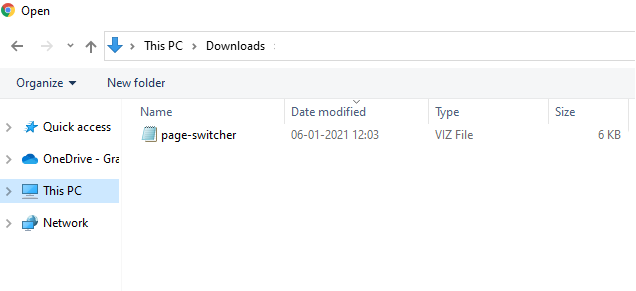
In the Open dialog that appears, select the file(s) you want to upload. Note that only the files with valid extensions are uploaded to the server.
If you upload a file with the same name that already exists on the server, you can either overwrite the existing file with the new one or keep both the files.
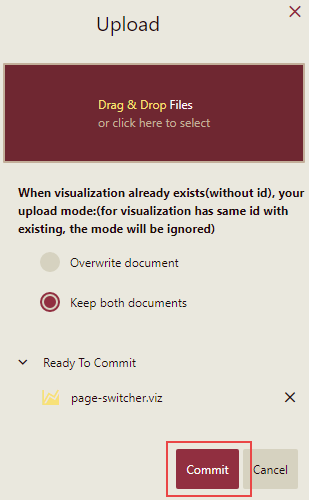
Click the Commit button to upload the file on the server.
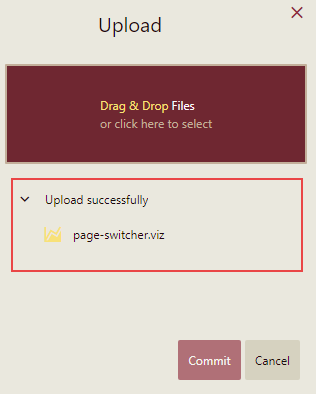
If the visualization file is valid, it will be successfully uploaded on the server.
If the version of visualization file is equal to or less than that of the existing file on the server, it will display an error.
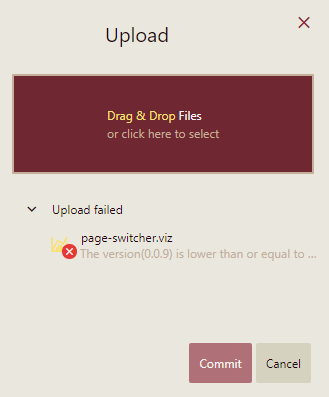
Note: If the version of the visualization file is greater than that of the existing file on the server, it will upgrade the visual.
The uploaded file(s) can now be seen on the Visualizations page.
Note: If the Administrator has set a file upload size limit, then you cannot upload a document larger than the set size limit. For details refer to Portal Settings for the "Upload Document Size Limit" property.
To Delete a Visualization File
On the Types tab of the Documents page, click Visualization.
Click the action overflow menu icon next to the visualization file you want to delete, and then select Delete.
In the Delete Document dialog box, click OK to permanently delete the visualization file from the Admin Portal.
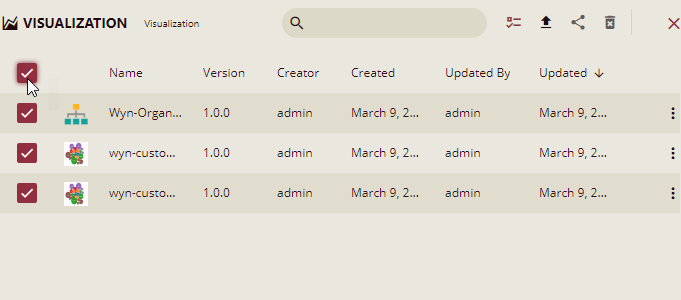
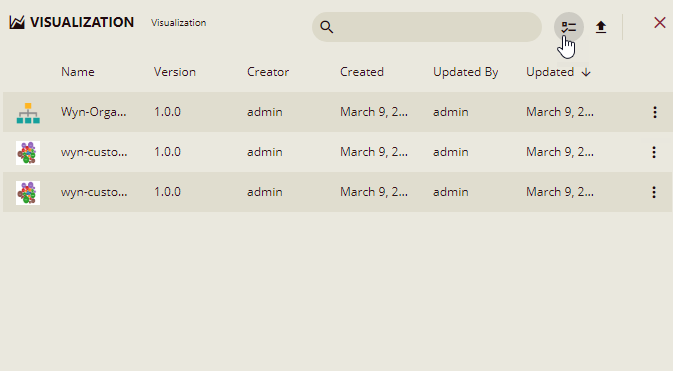
To delete multiple visualization files at the same time, click Show Check Box at the top right portion adjacent to the search bar. It will enable the multi-select option.
Select the visualization files that you want to delete and click Delete selected documents at the top right portion adjacent to the Hide Check Box button.
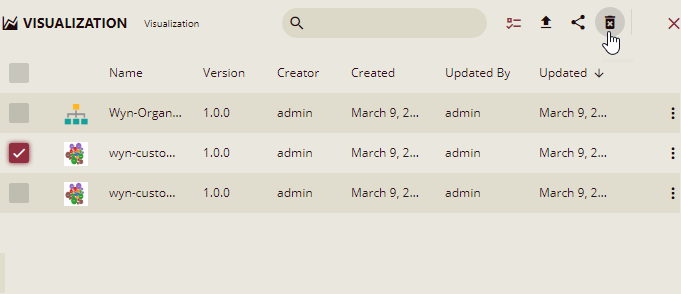
To select all the visualization files at once, click the first check box at the top, adjacent to the Name header.